Using the OLED Display#
What is an OLED Display?#
An OLED display is a type of screen used in many devices, such as phones and TVs. What makes OLED special is that each pixel on the screen can emit its own light, unlike older screens, where a separate backlight is needed. This makes OLED displays bright and colorful, with deep blacks and vibrant colors. They also use less power, which helps devices last longer between charges. Overall, OLED displays give us clearer and more colorful images on our devices.

The picture above shows the dimensions of the OLED screen. The coordinates start on the upper left corner of the OLED screen. The screen is 128 pixels in width on the x-axis and 64 pixels in height on the y-axis.
Using the OLED Display on the Kitronik Air Quality and Environmental Board#
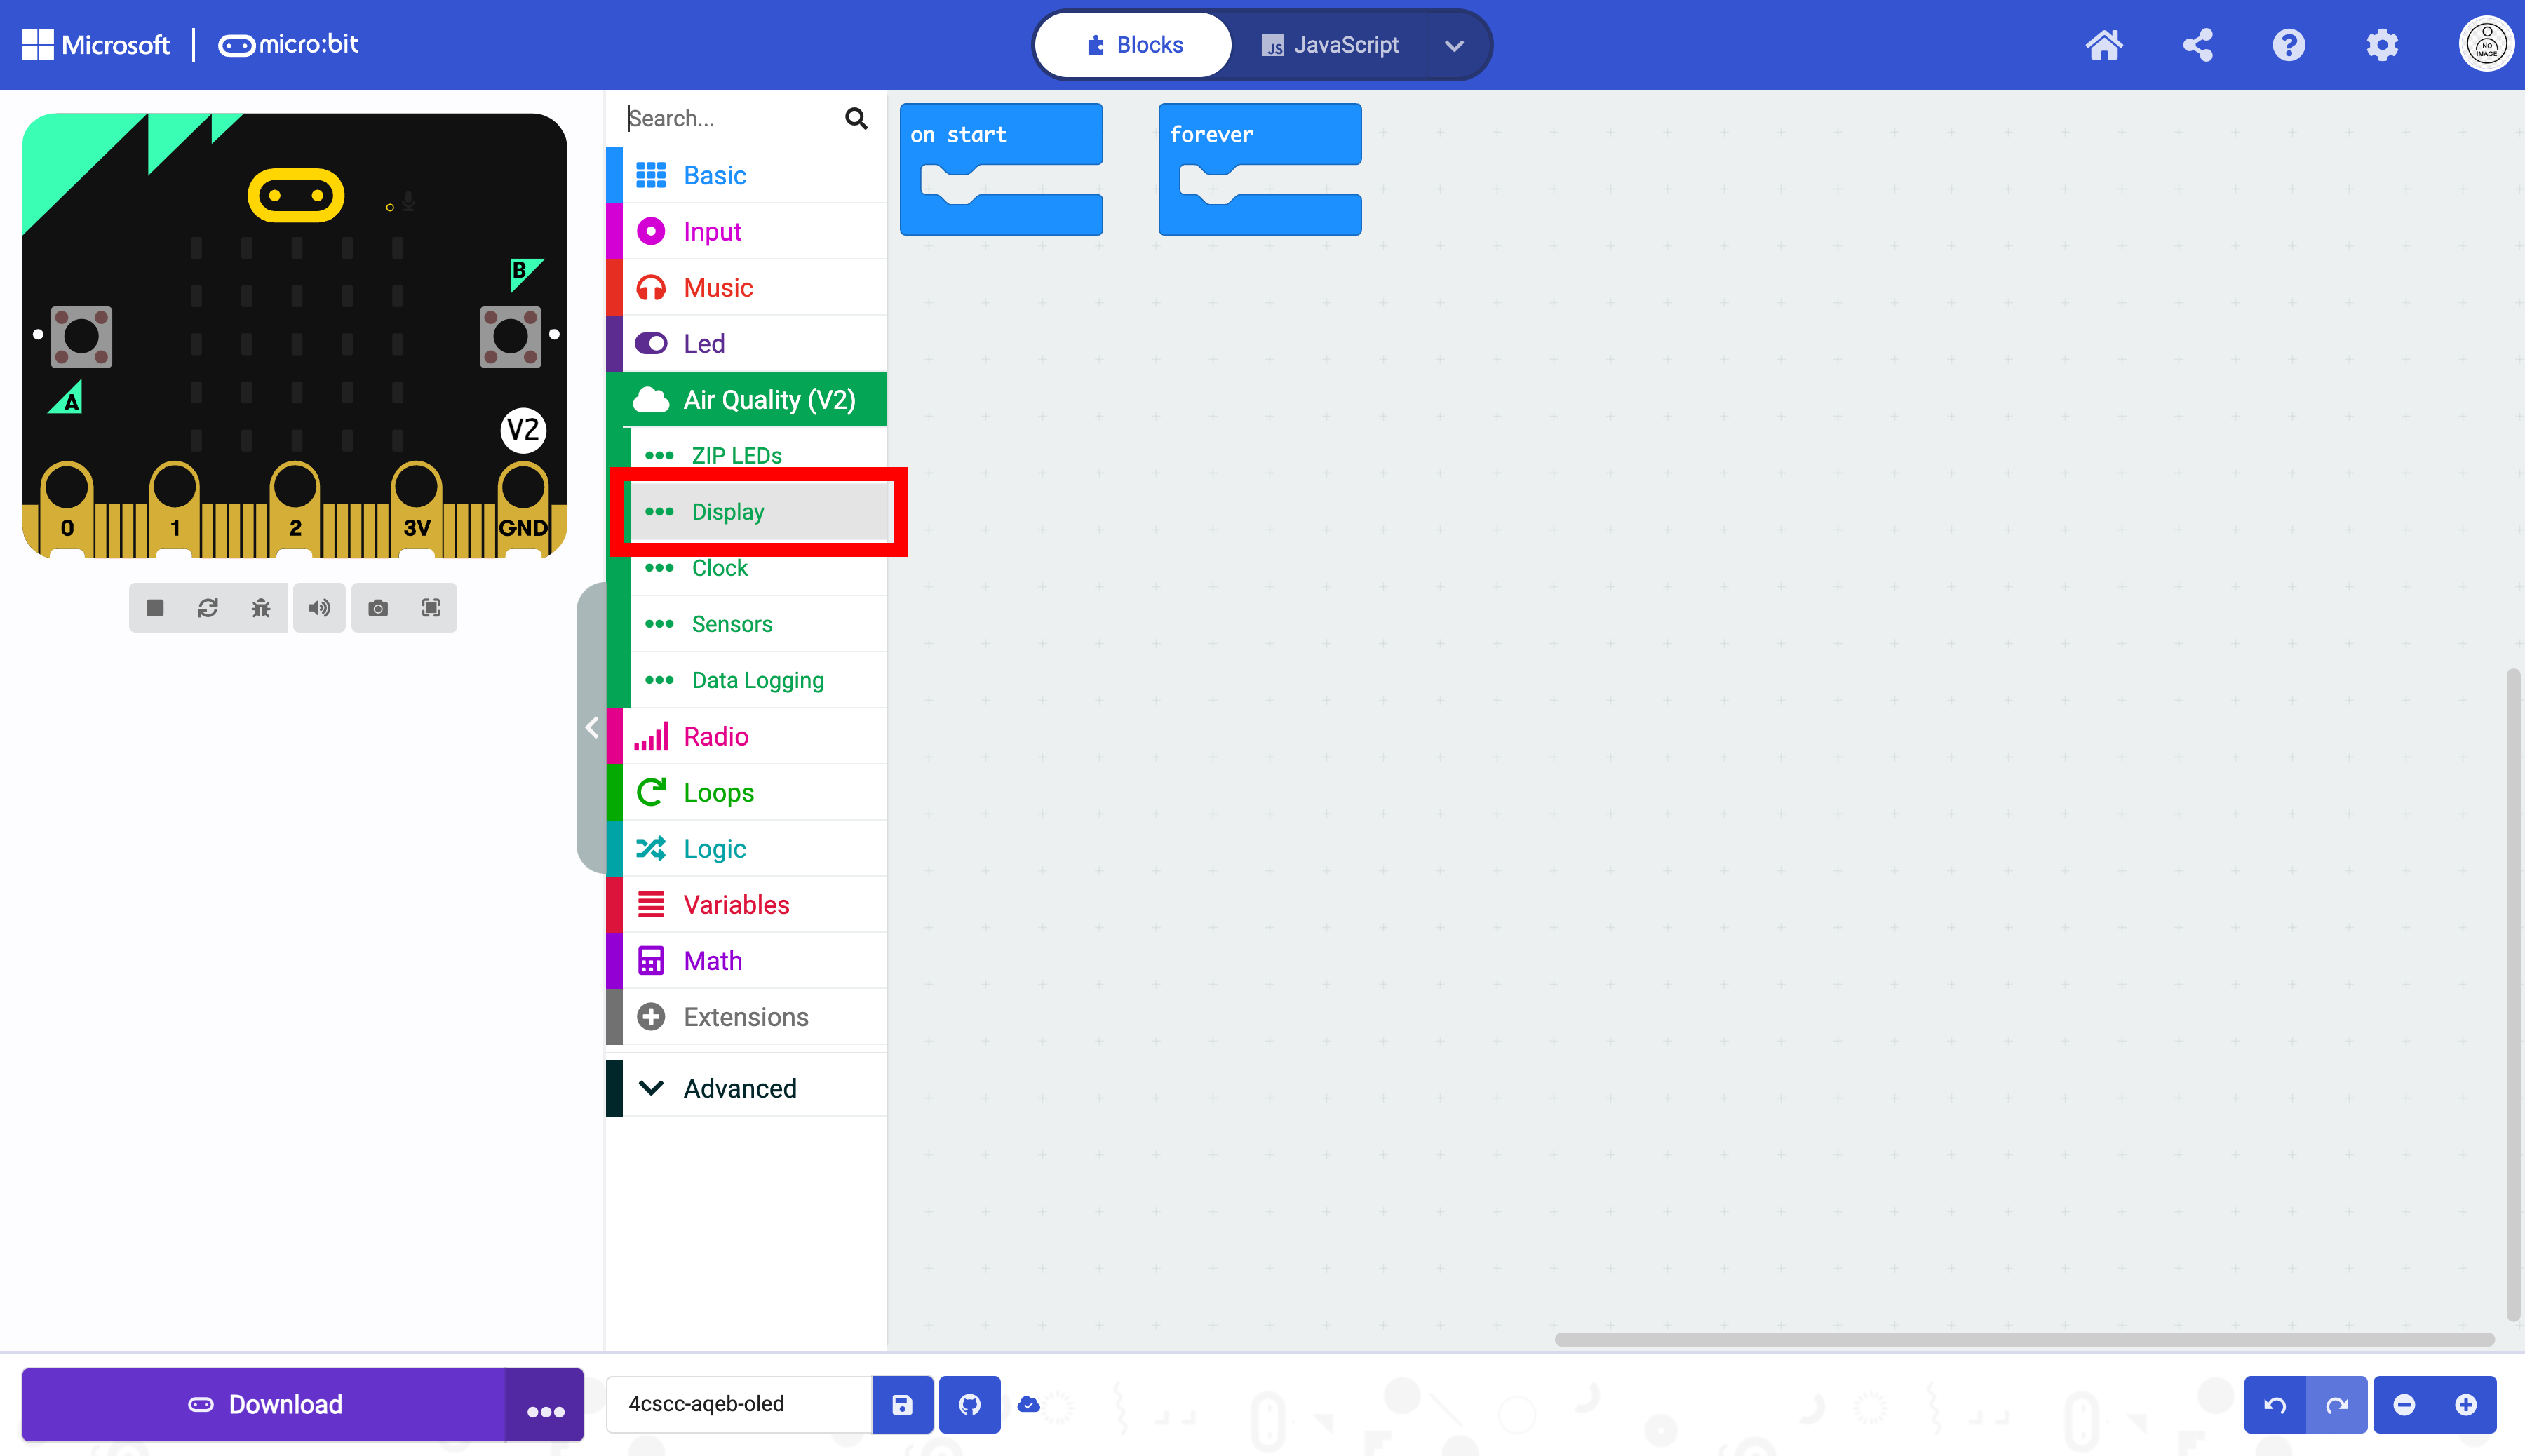
For the display to function, the display must be turned on using the turn off/on display block.

Drag the turn off/on display into the on start block. This code needs to only run once at the beginning of the program.
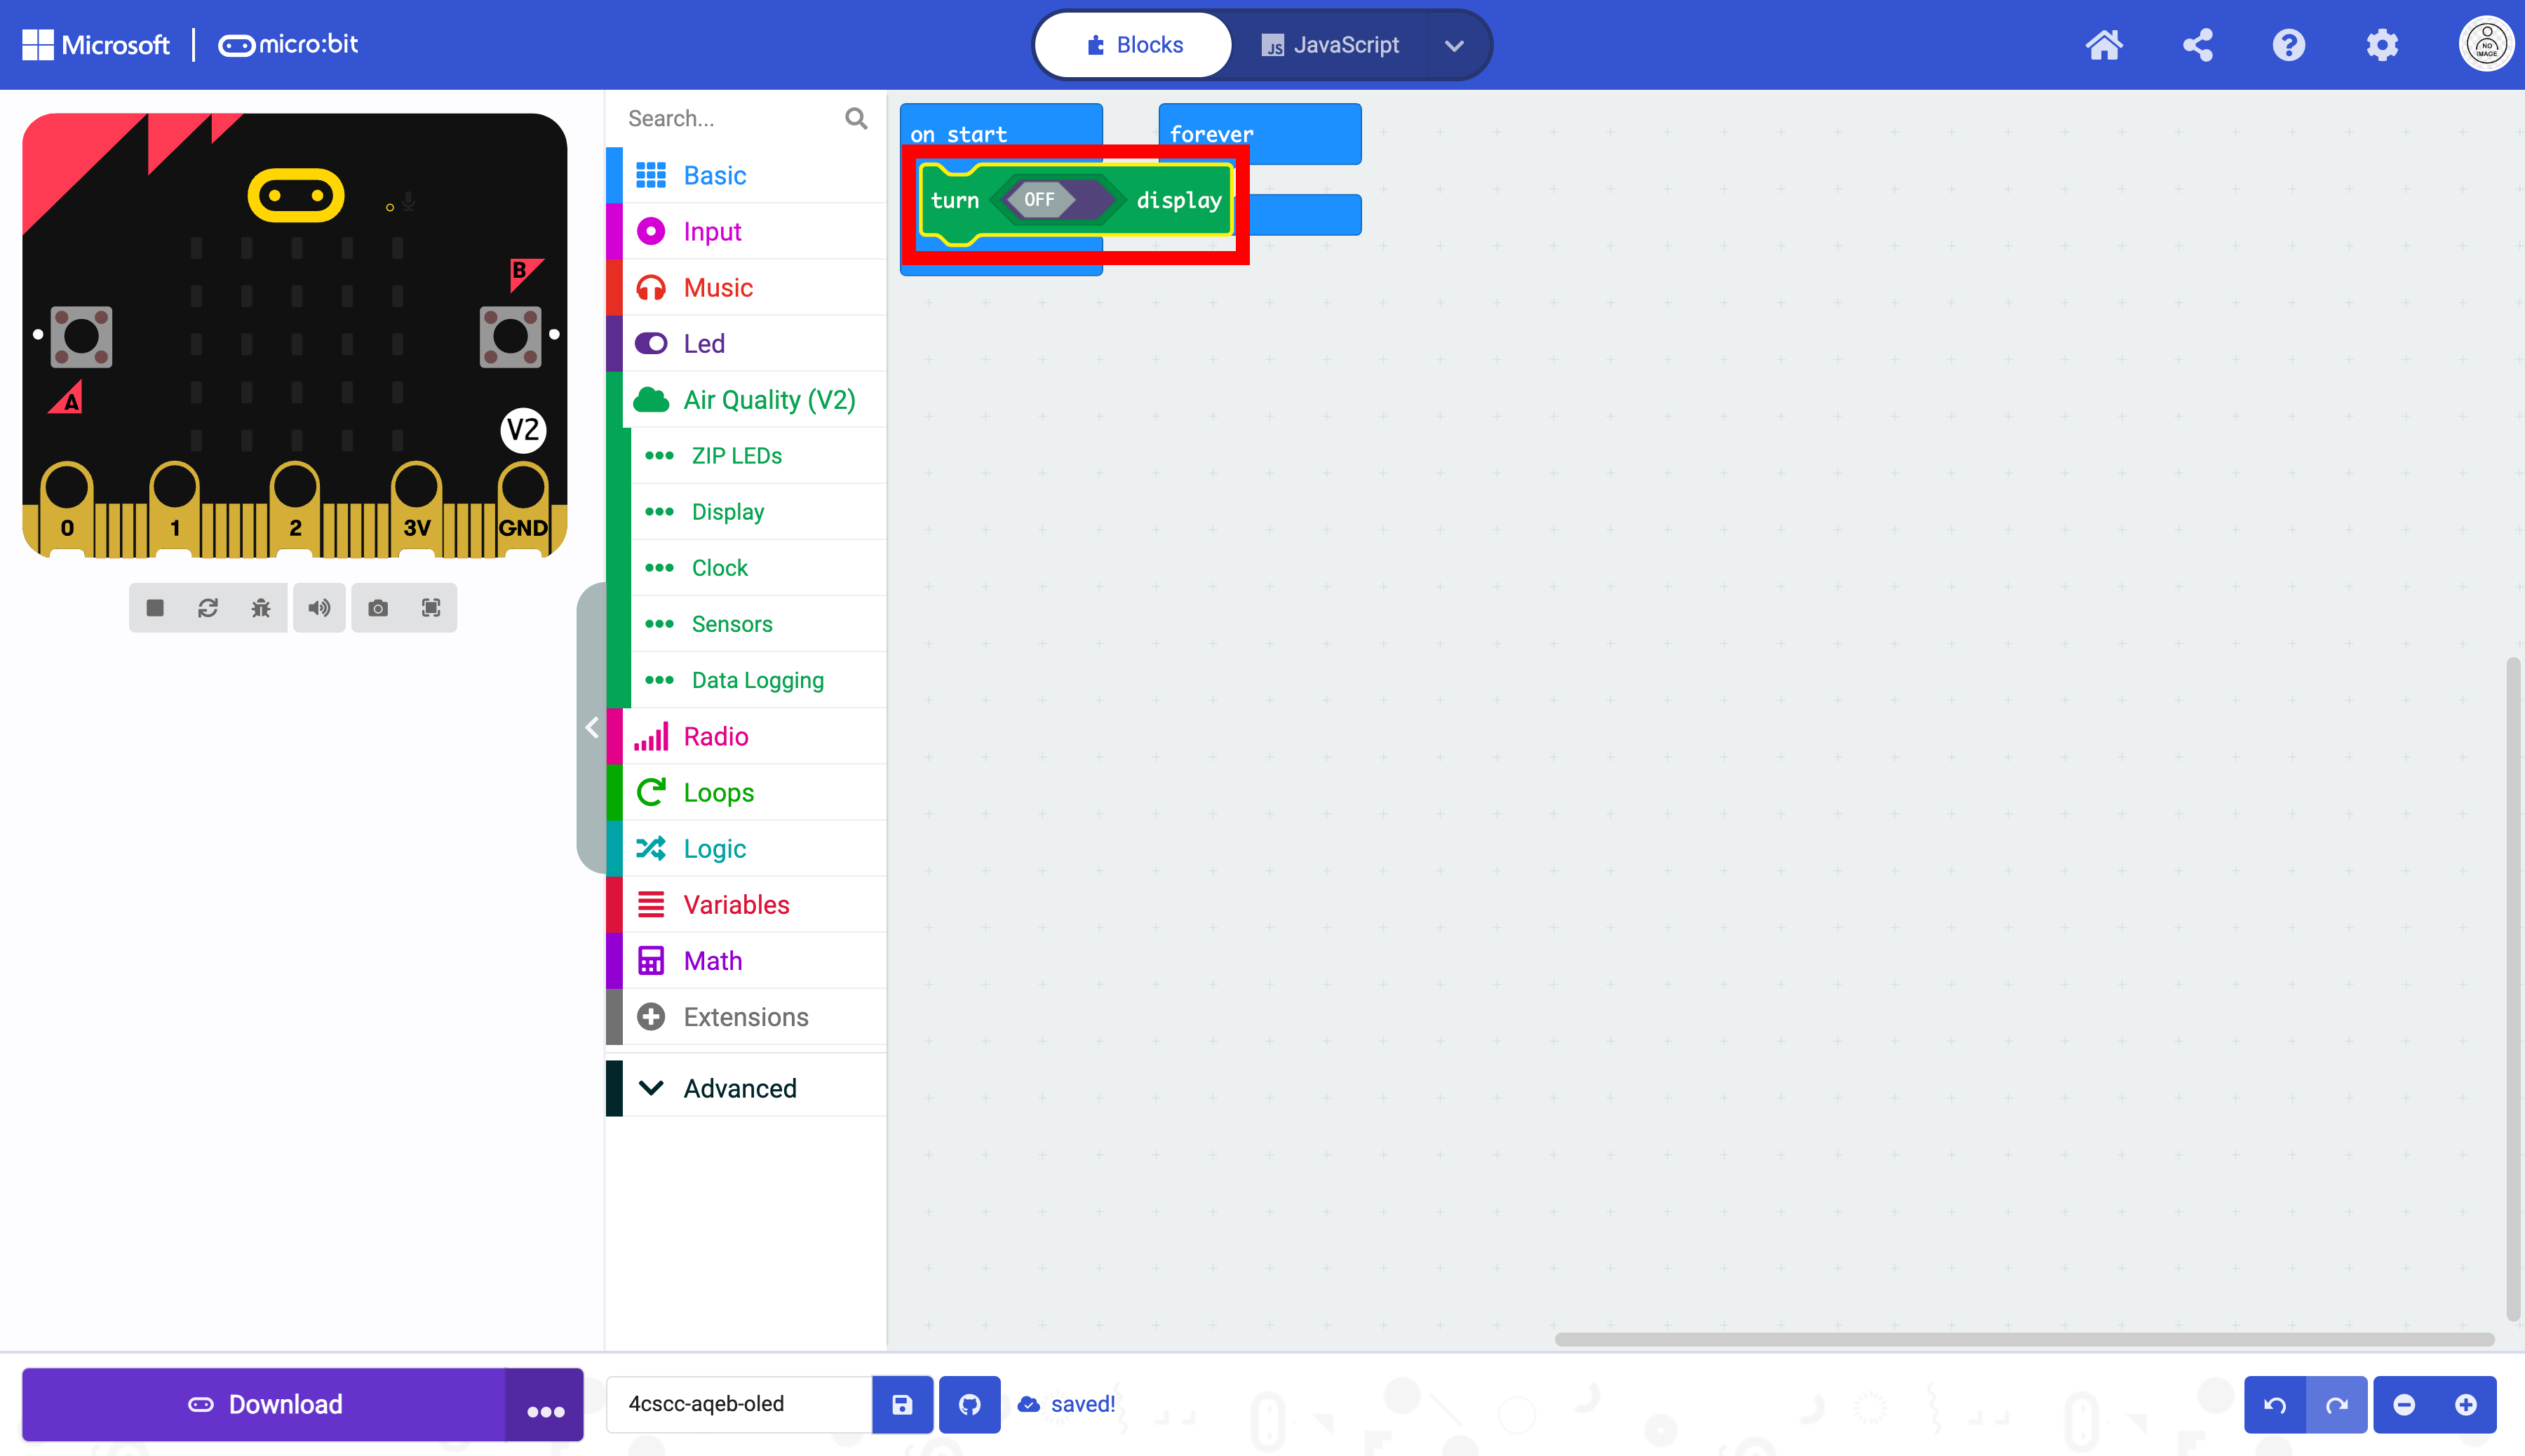
Toggle the off/on switch in the block,
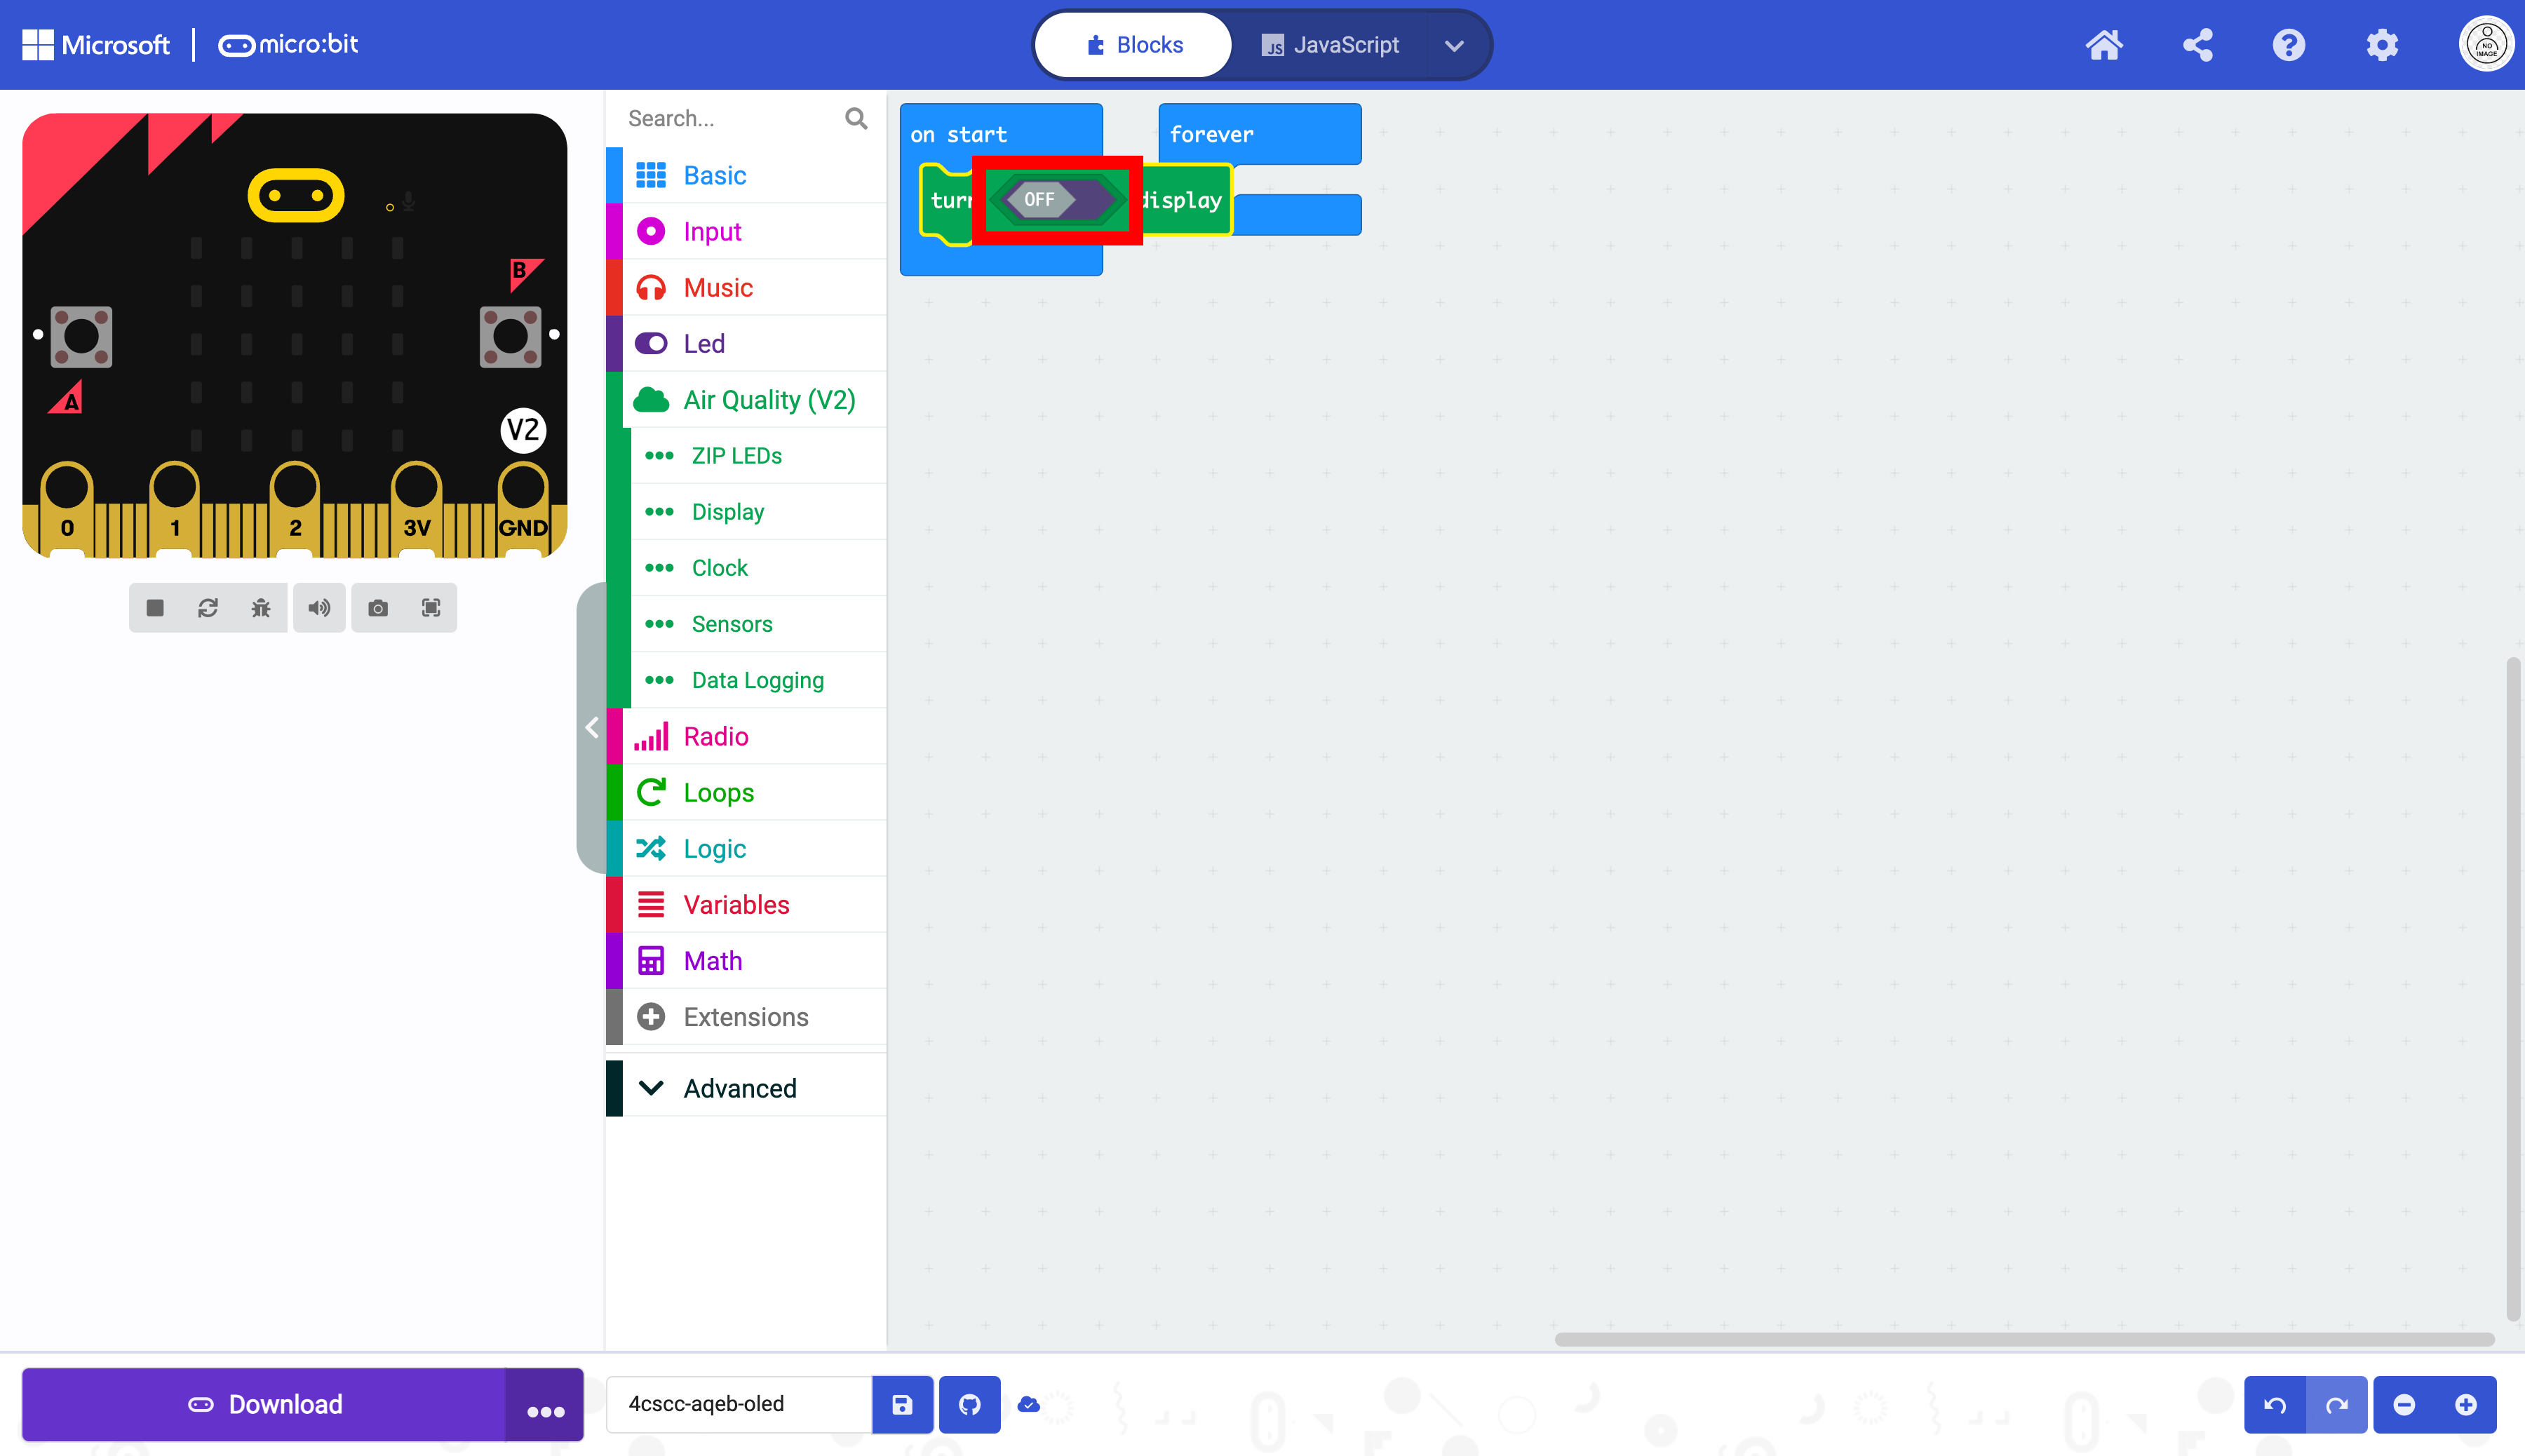
The display has been initialized, and it can be used.

Notice that the forever block is behind the block inside of the on start block

Move the forever block to make it visible. You may rearrange blocks at any time. The blocks do not run in the order that they are displayed.

Select the show < > on line <1> with alignment block. This is the block that displays text on the OLED screen. The blank oval will be the number or string that will be displayed. The second oval with a default 1 is the line number. The OLED can display up to eight lines on the OLED screen.

Drag this block into the forever block. As mentioned before, this block will run the code in a loop, which is what you need to display sensor data in real-time. Next select the Advanced drawer in the Toolbox.

Select Text. This section is where the blocks for strings are.

Select the empty string block.

Drag the empty string block into the first oval.

Type “Four Corners Science and Computing Club” in the empty string block. Run the code on the micro:bit.

Notice how the text runs to the next line. The micro:bit does not understand word boundaries. This means a word could be split between two lines, with part of it at the end of one line and the rest at the start of the next. To avoid this, it’s best to break up longer strings into multiple lines. You can duplicate the existing block to do this, as it’s usually quicker than finding the block again in the Toolbox.
There is no set character limit for the lines on the OLED, as some characters are wider than others. It is best to test your code for readability and modify it to be displayed as you intend it to be displayed.
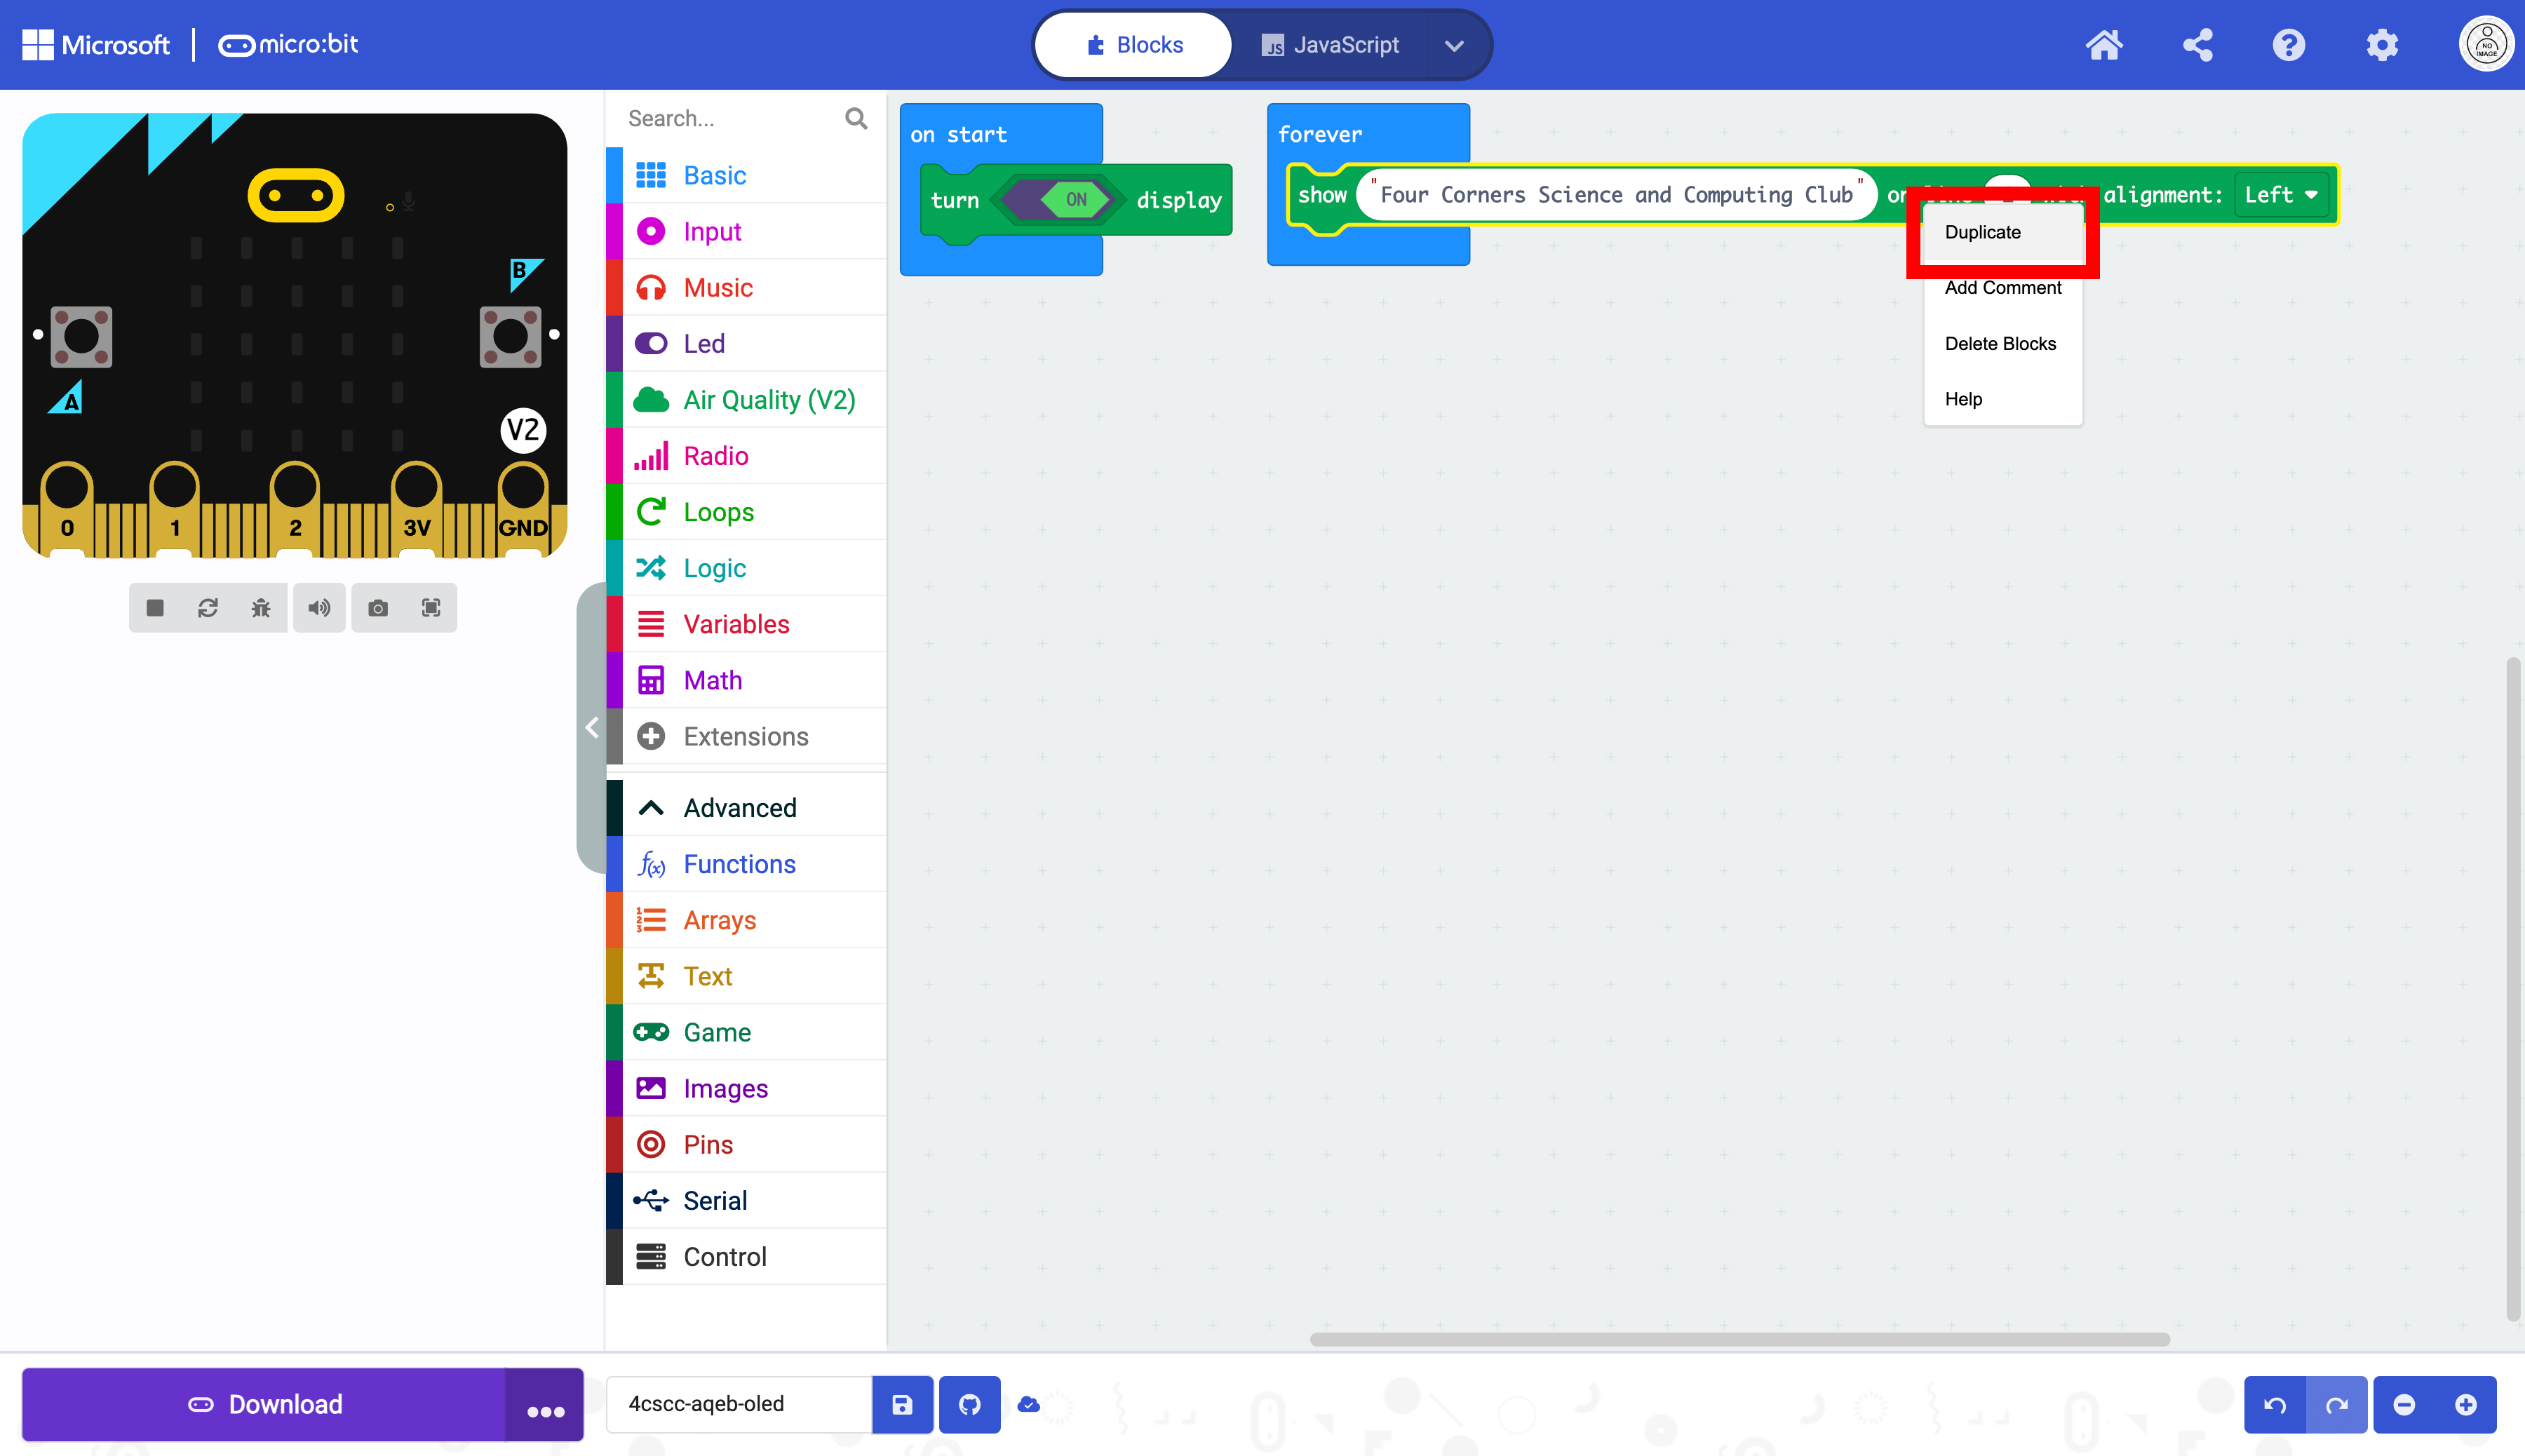
Drag the duplicate directly below the other block.

Now that the block is below the next block, you can now have two lines of text.

The text is the same, and must be changed.
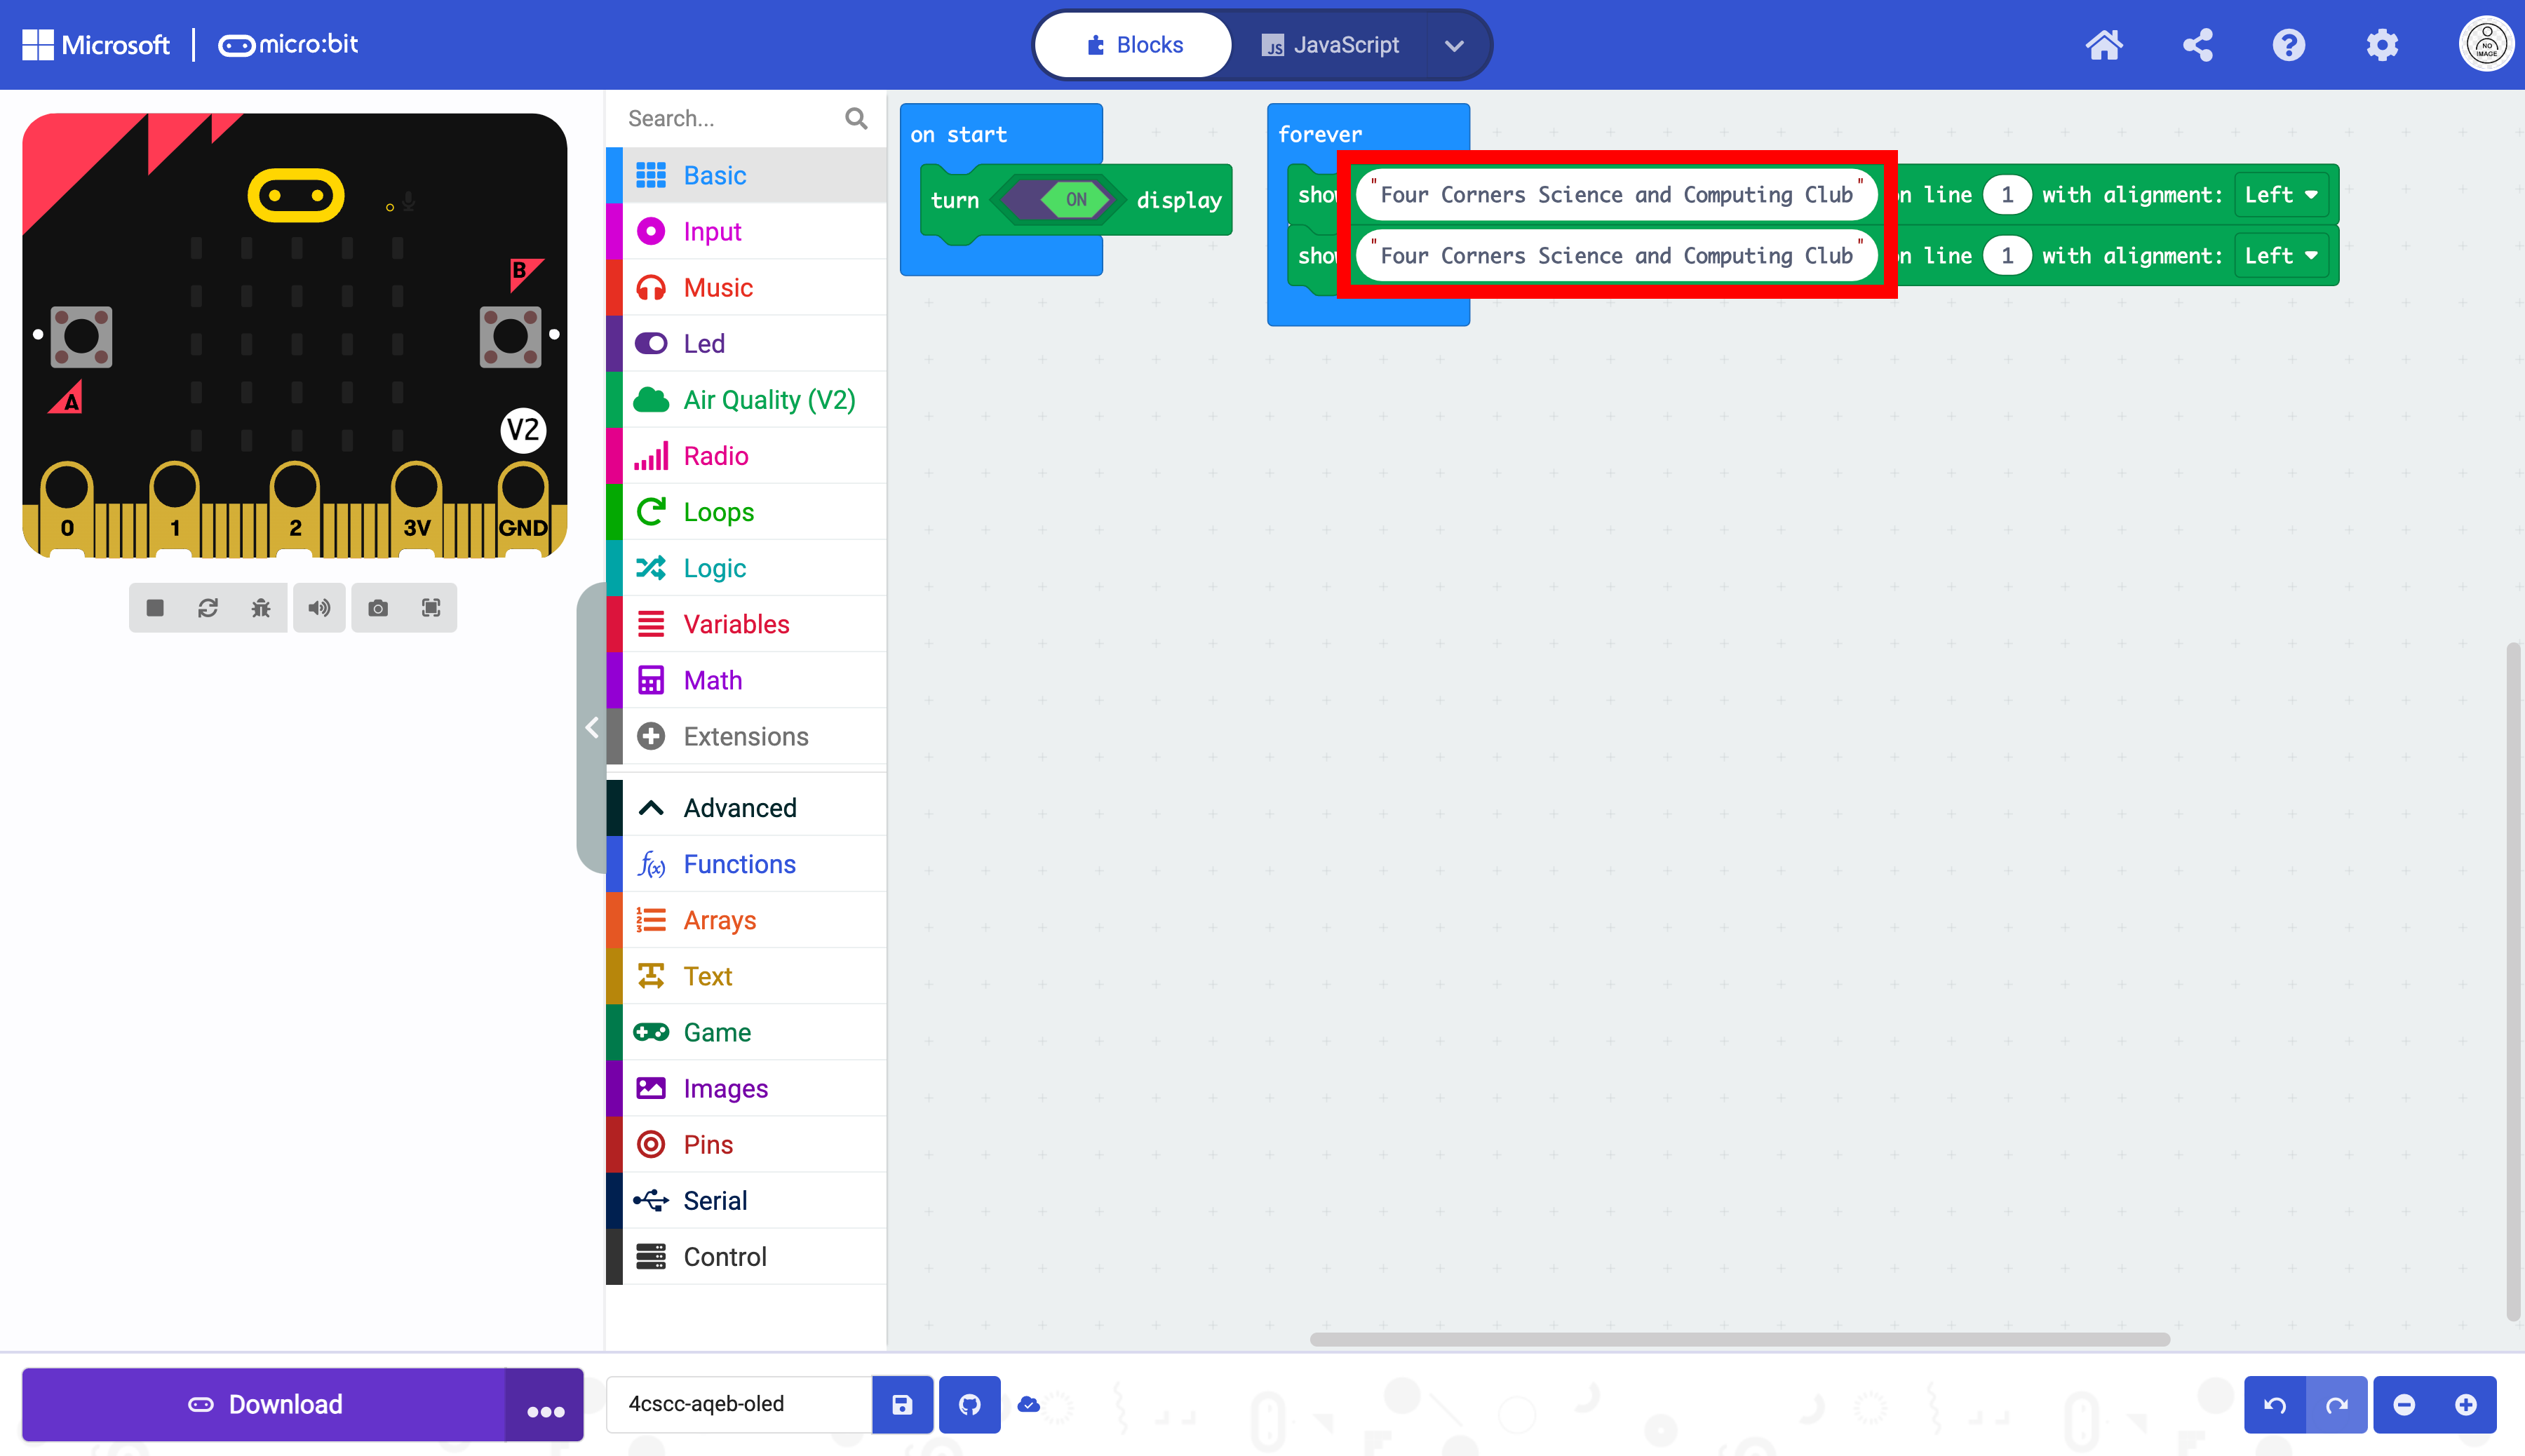
Modify the text so “Four Corners Science and Computing Club” is displayed on two lines.
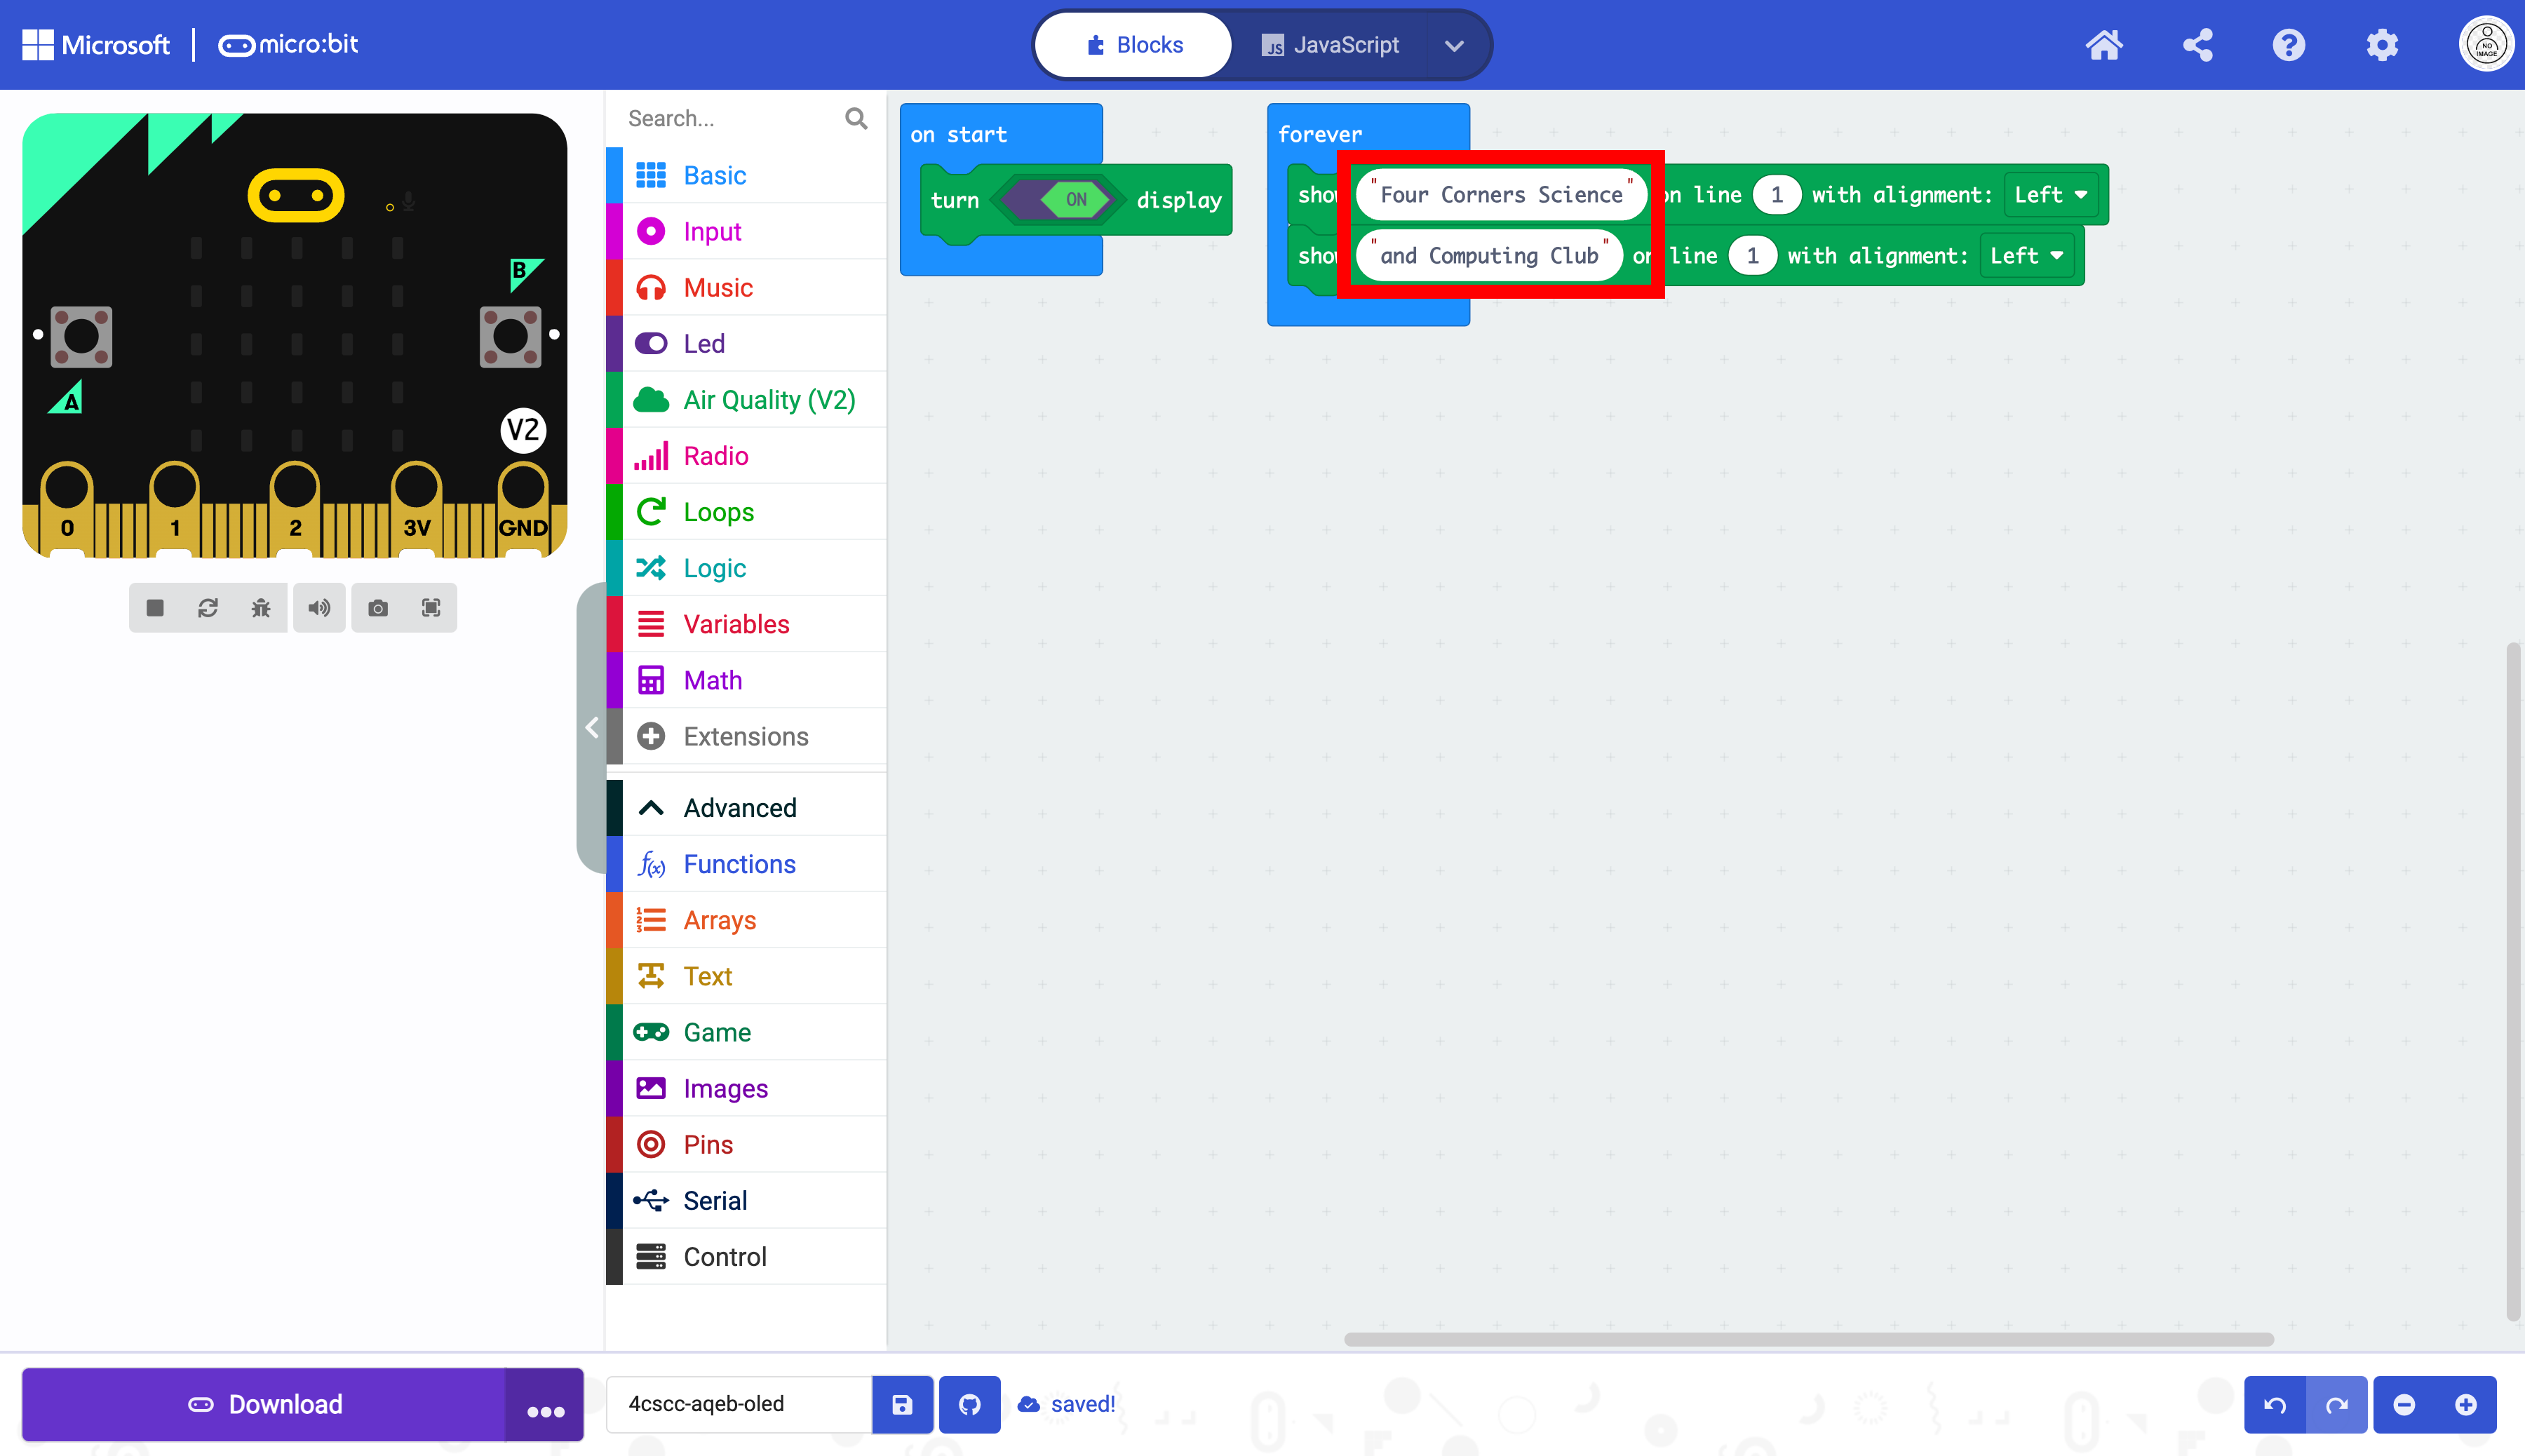
Notice that the line number is still 1. This must be changed or only one line of text will be displayed.

Change the line 1 to line 2.

The text will now be displayed on two lines.
The micro:bit is now ready to be flashed with code. Press the download button to transfer the code to the micro:bit.