
Using the A and B Buttons#
In this section, we will focus on the A and B buttons:

To access the code for the buttons, click on the “Input” drawer of the Toolbox.

Select an on button block.

Place the on button block on the workspace. This block has three options: A, B and A + B. The A + B is when you press both the A and B button at the same time.

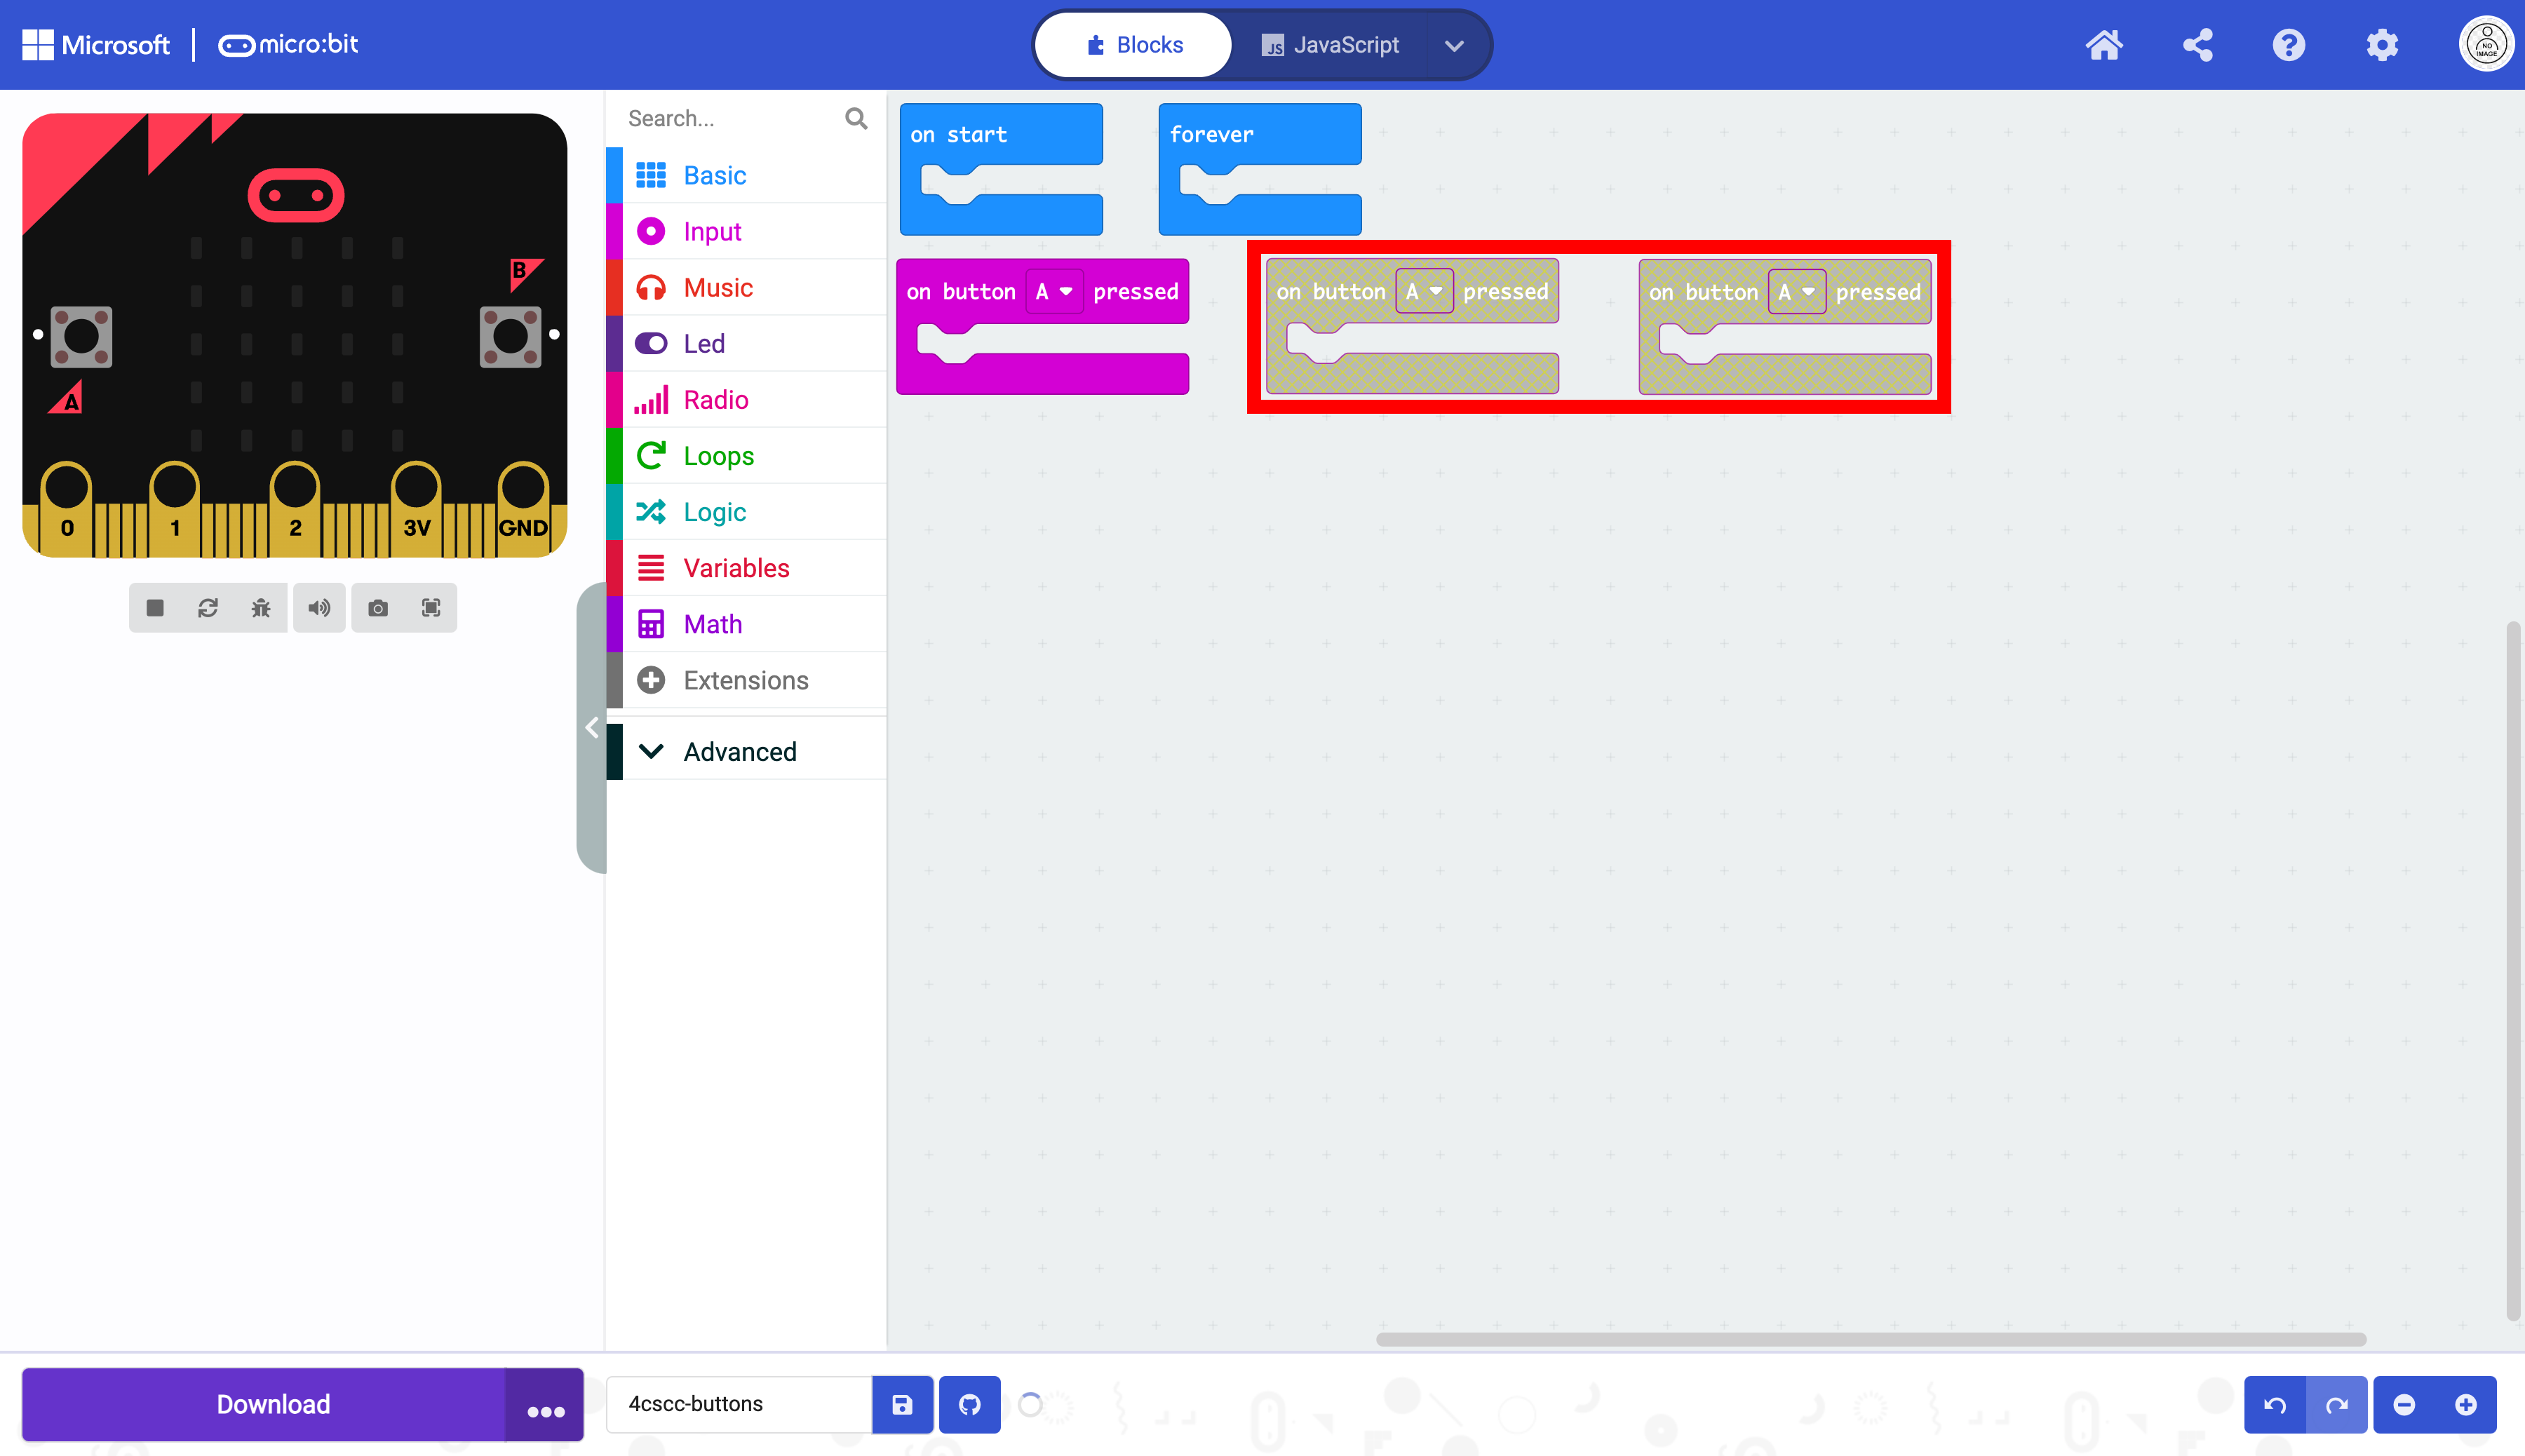
Duplicate the on button block twice.

These blocks are not the same color as the other block, because they are the same. This means they will be ignored unless you change the values in the dropdown menu.

Rearrange the blocks to make the workspace cleaner.
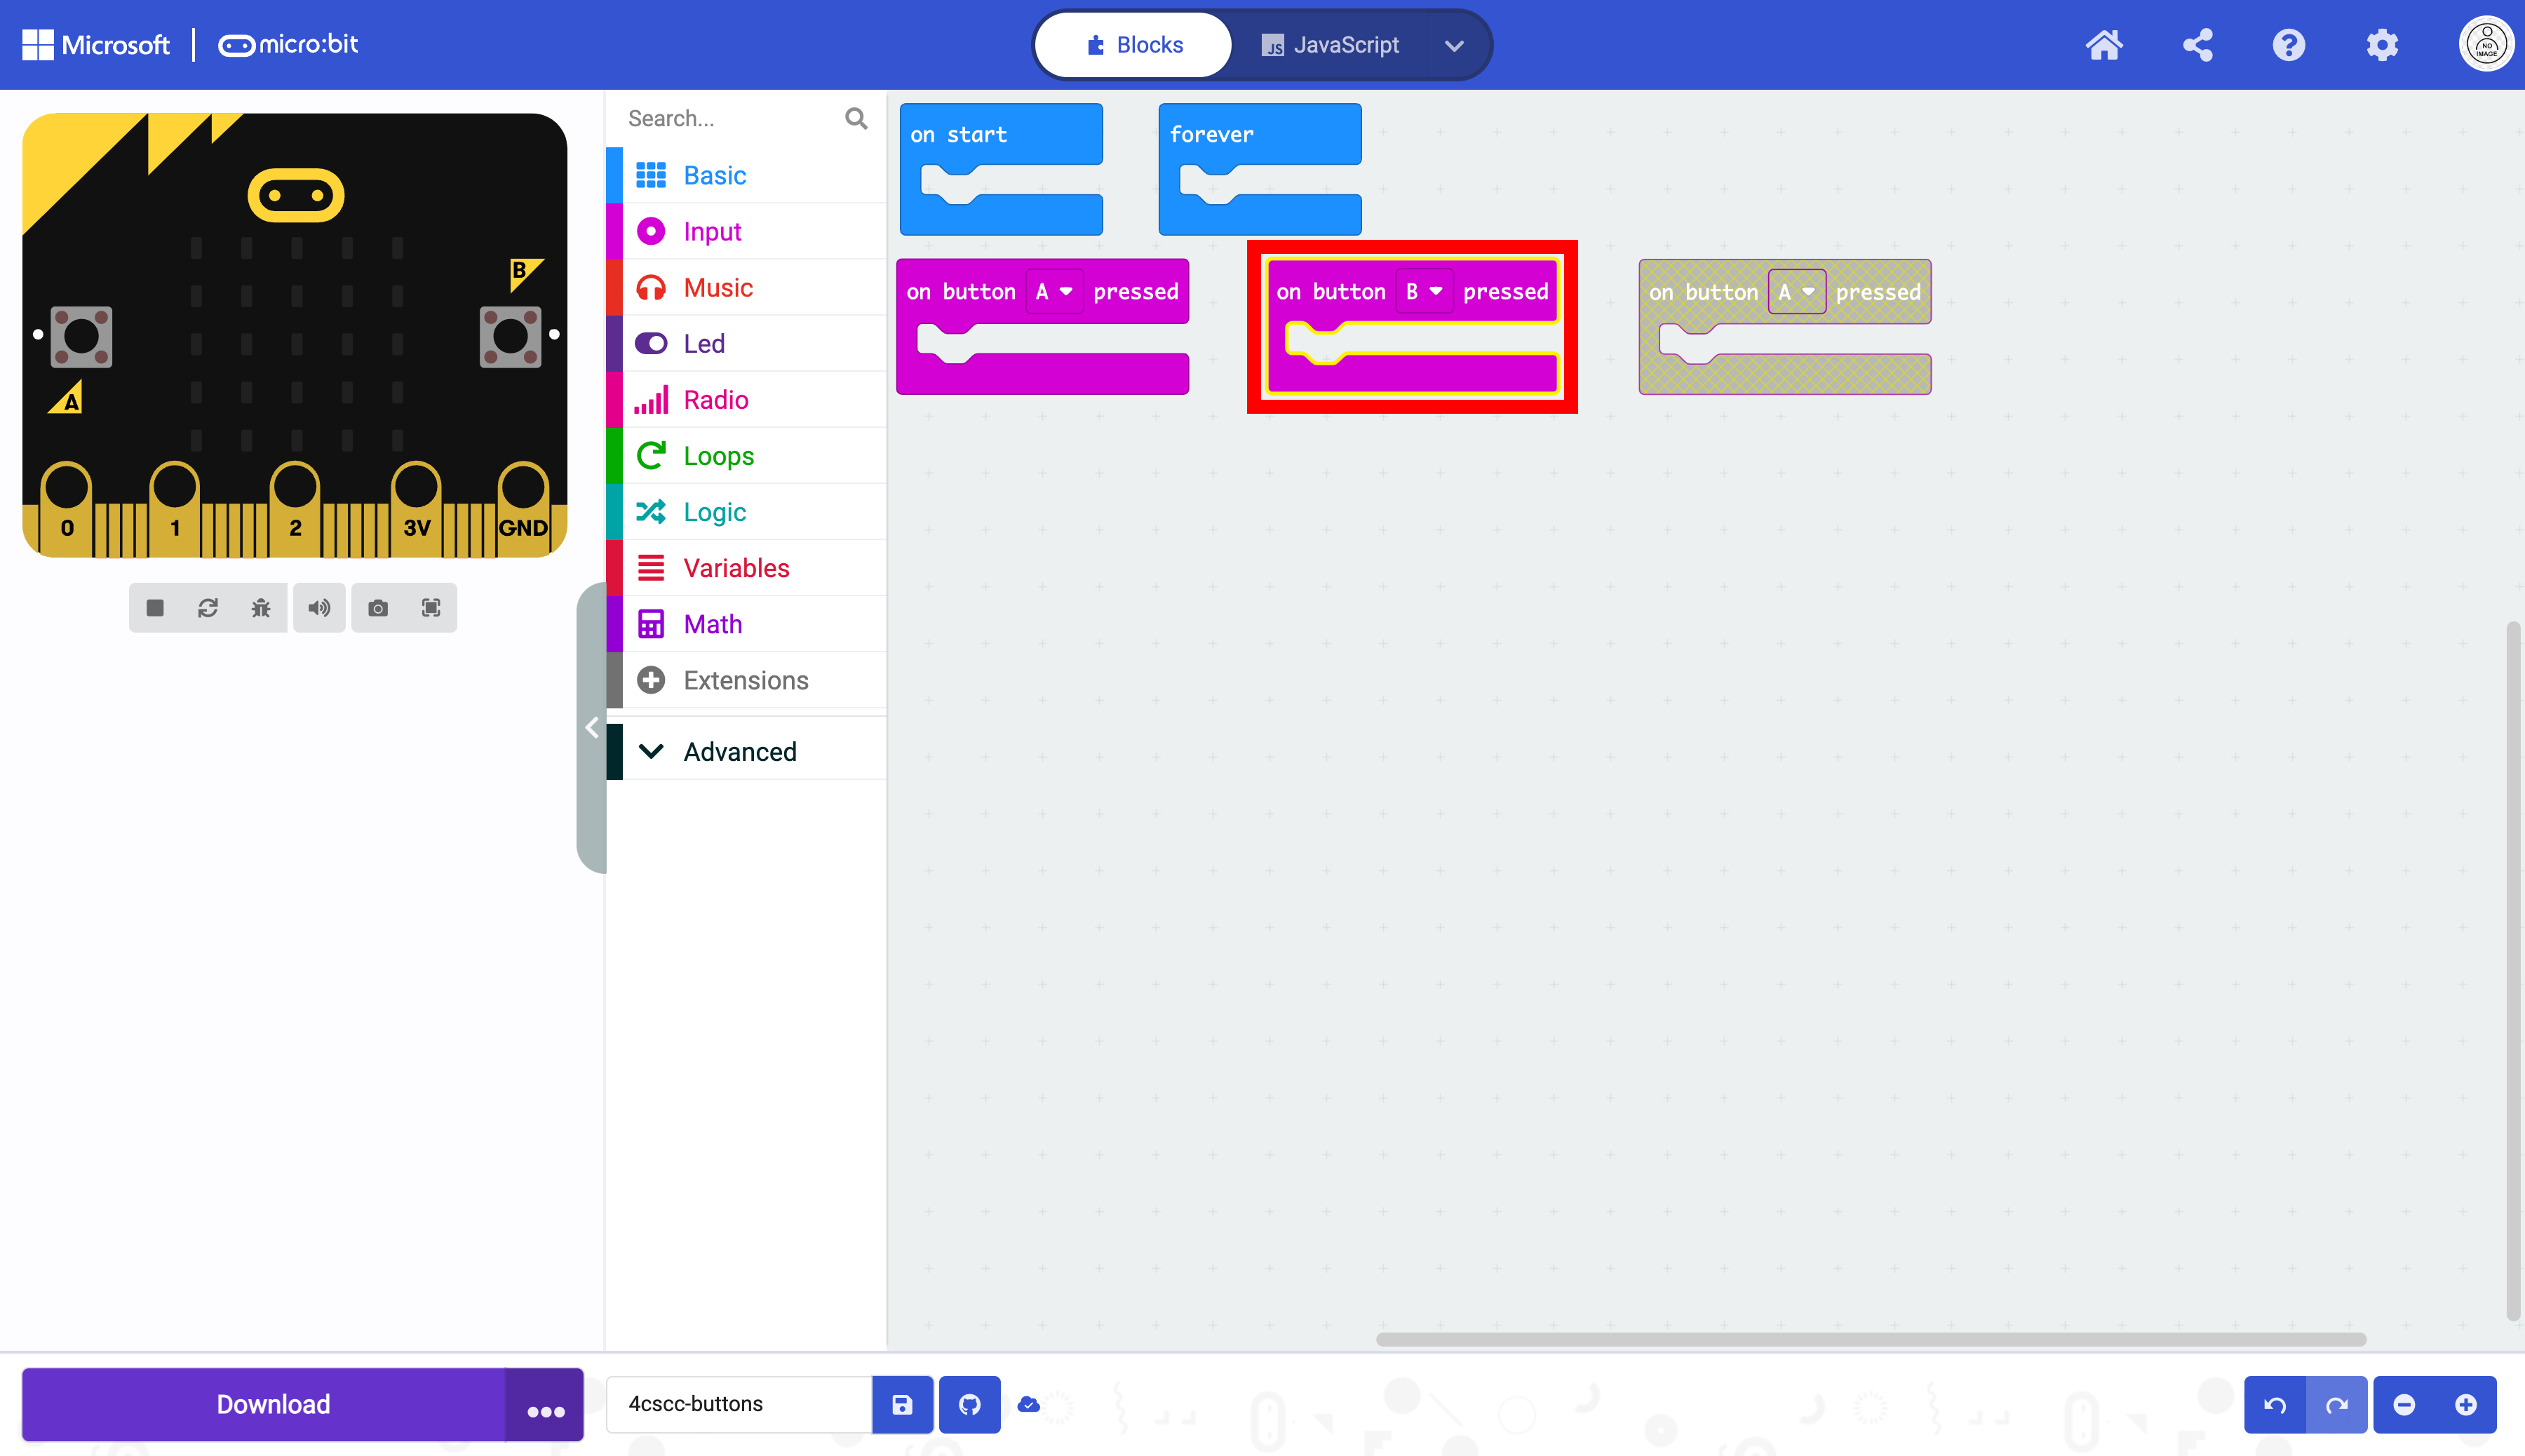
Click on the arrow on the dropdown menu on one of the duplicated blocks and change the value to B.

The block changes colors and will not be ignored.
Click on the arrow on the dropdown menu on the remaining duplicated block and change the value to A + B.

This block changes colors too, and will not be ignored.

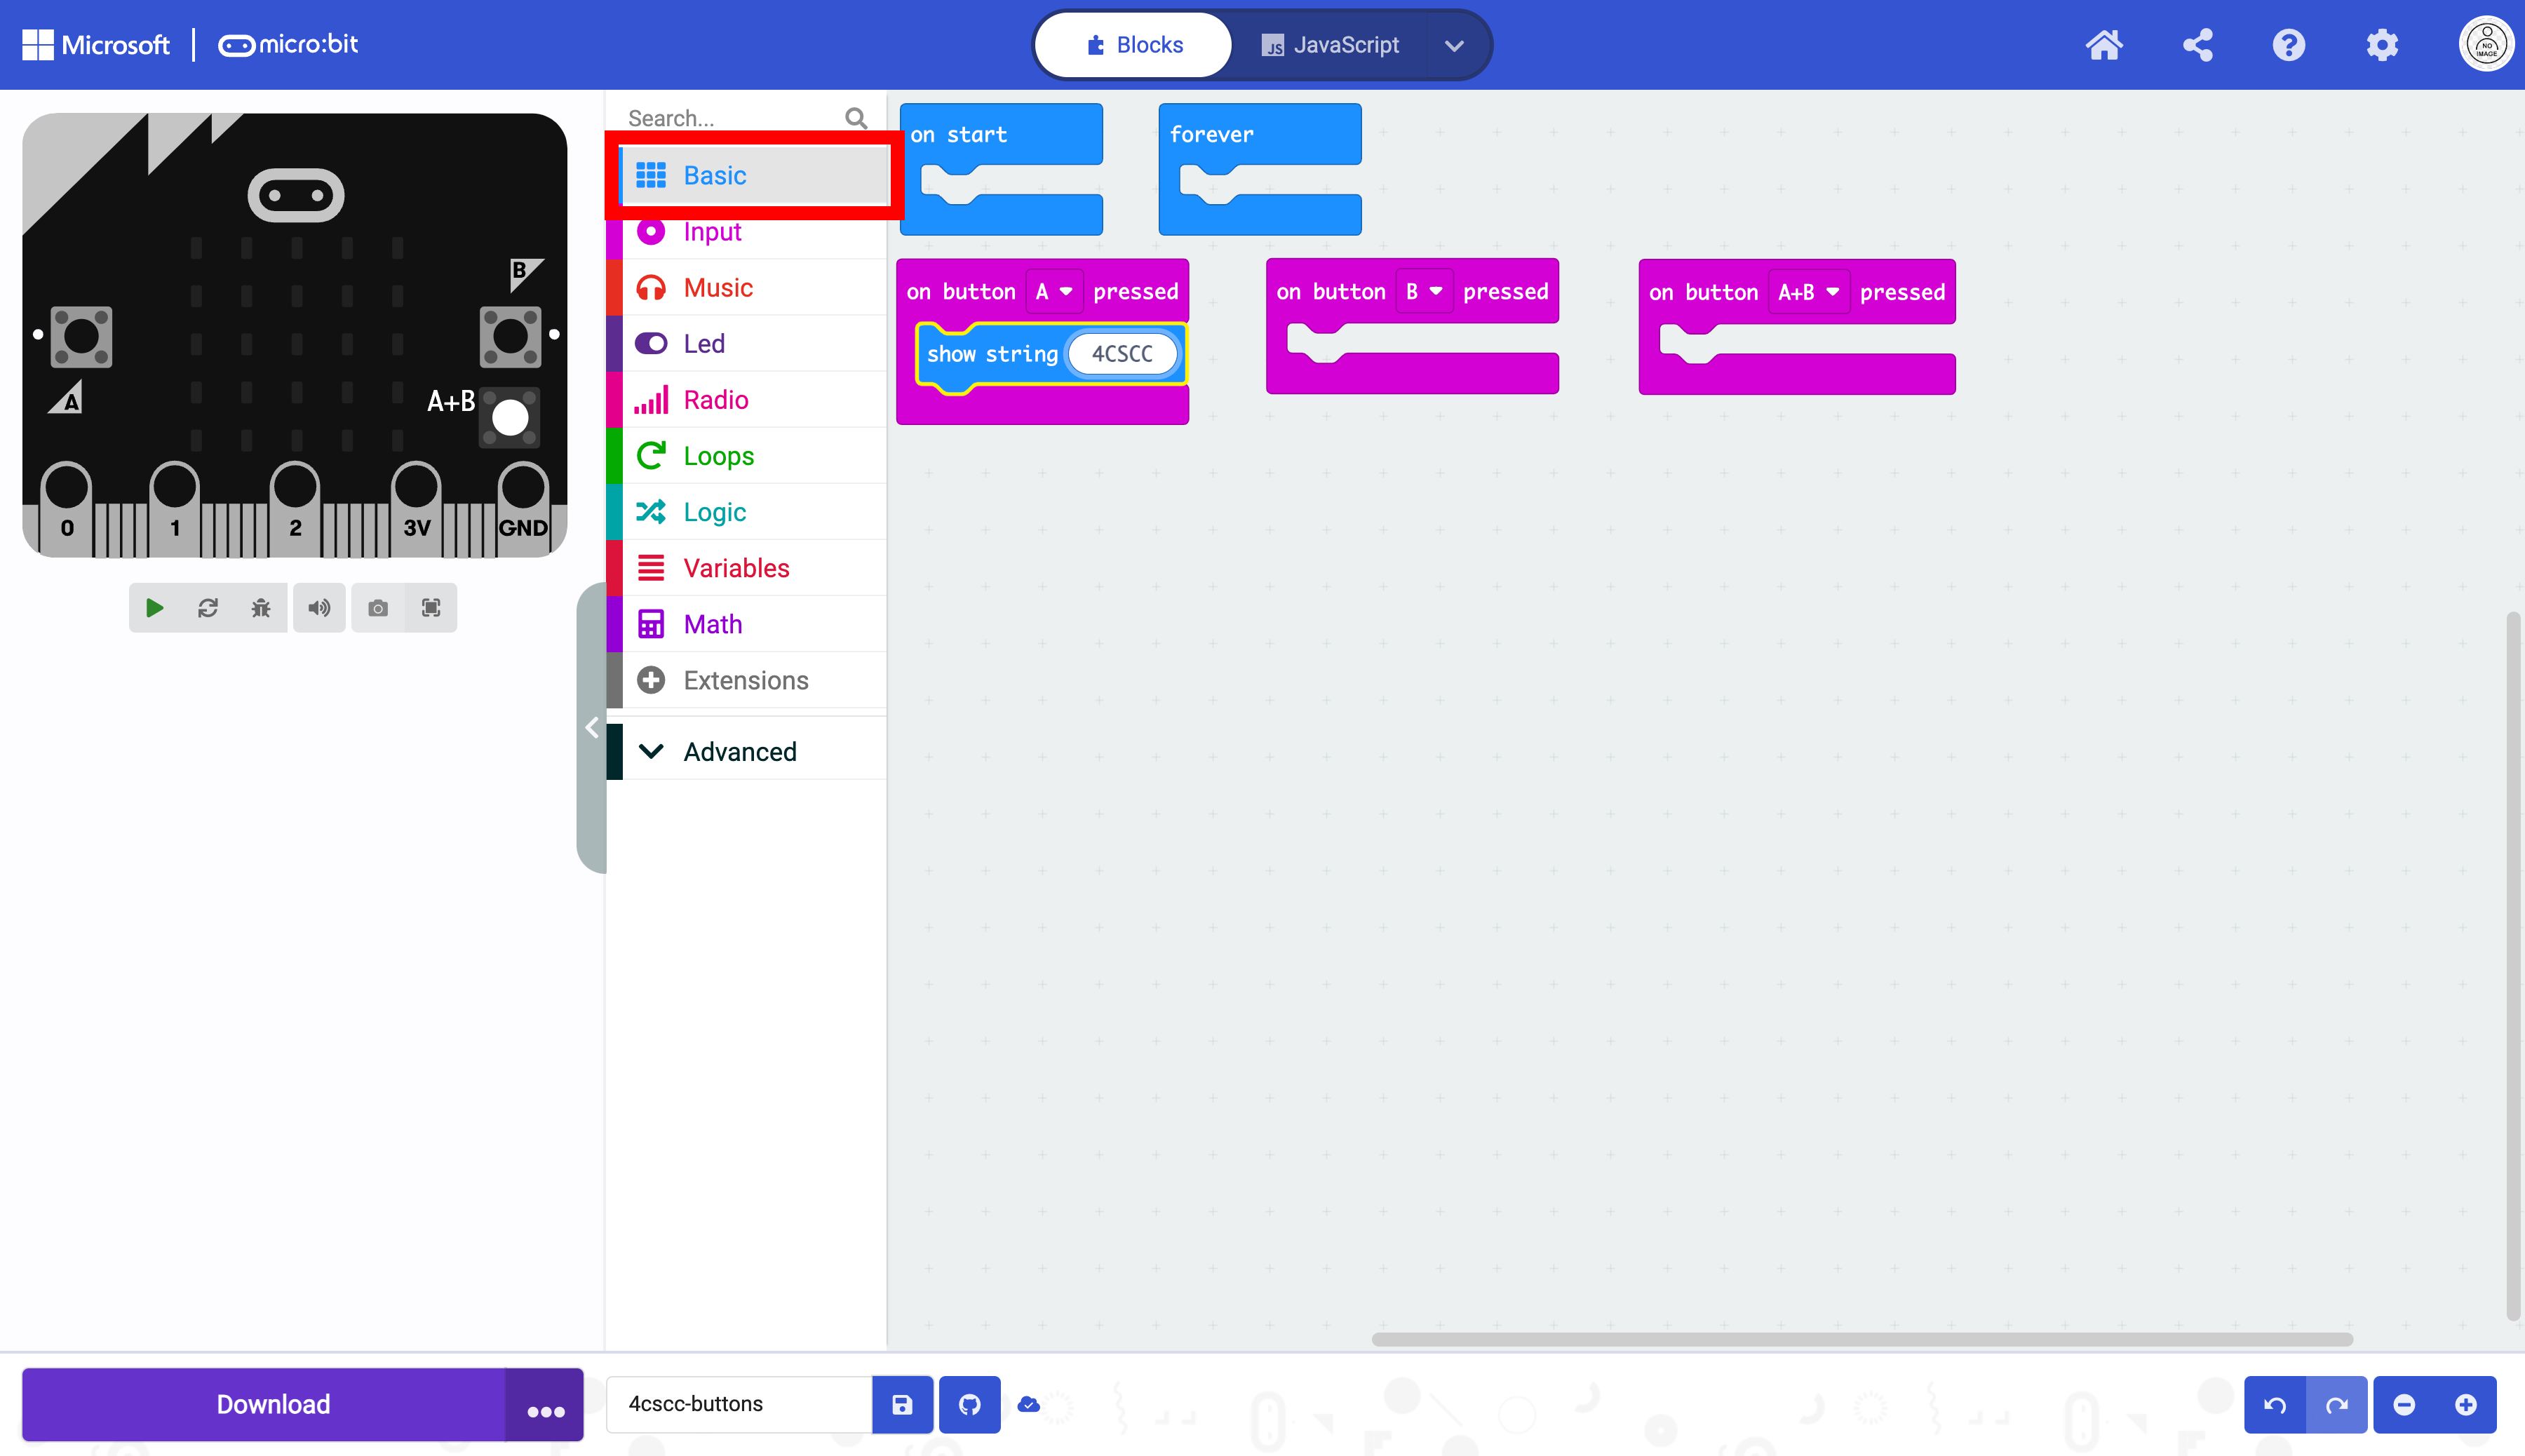
Now we need to do something when the buttons are pressed. Click on the “Basic” drawer in the Toolbox.

Select a show string block.

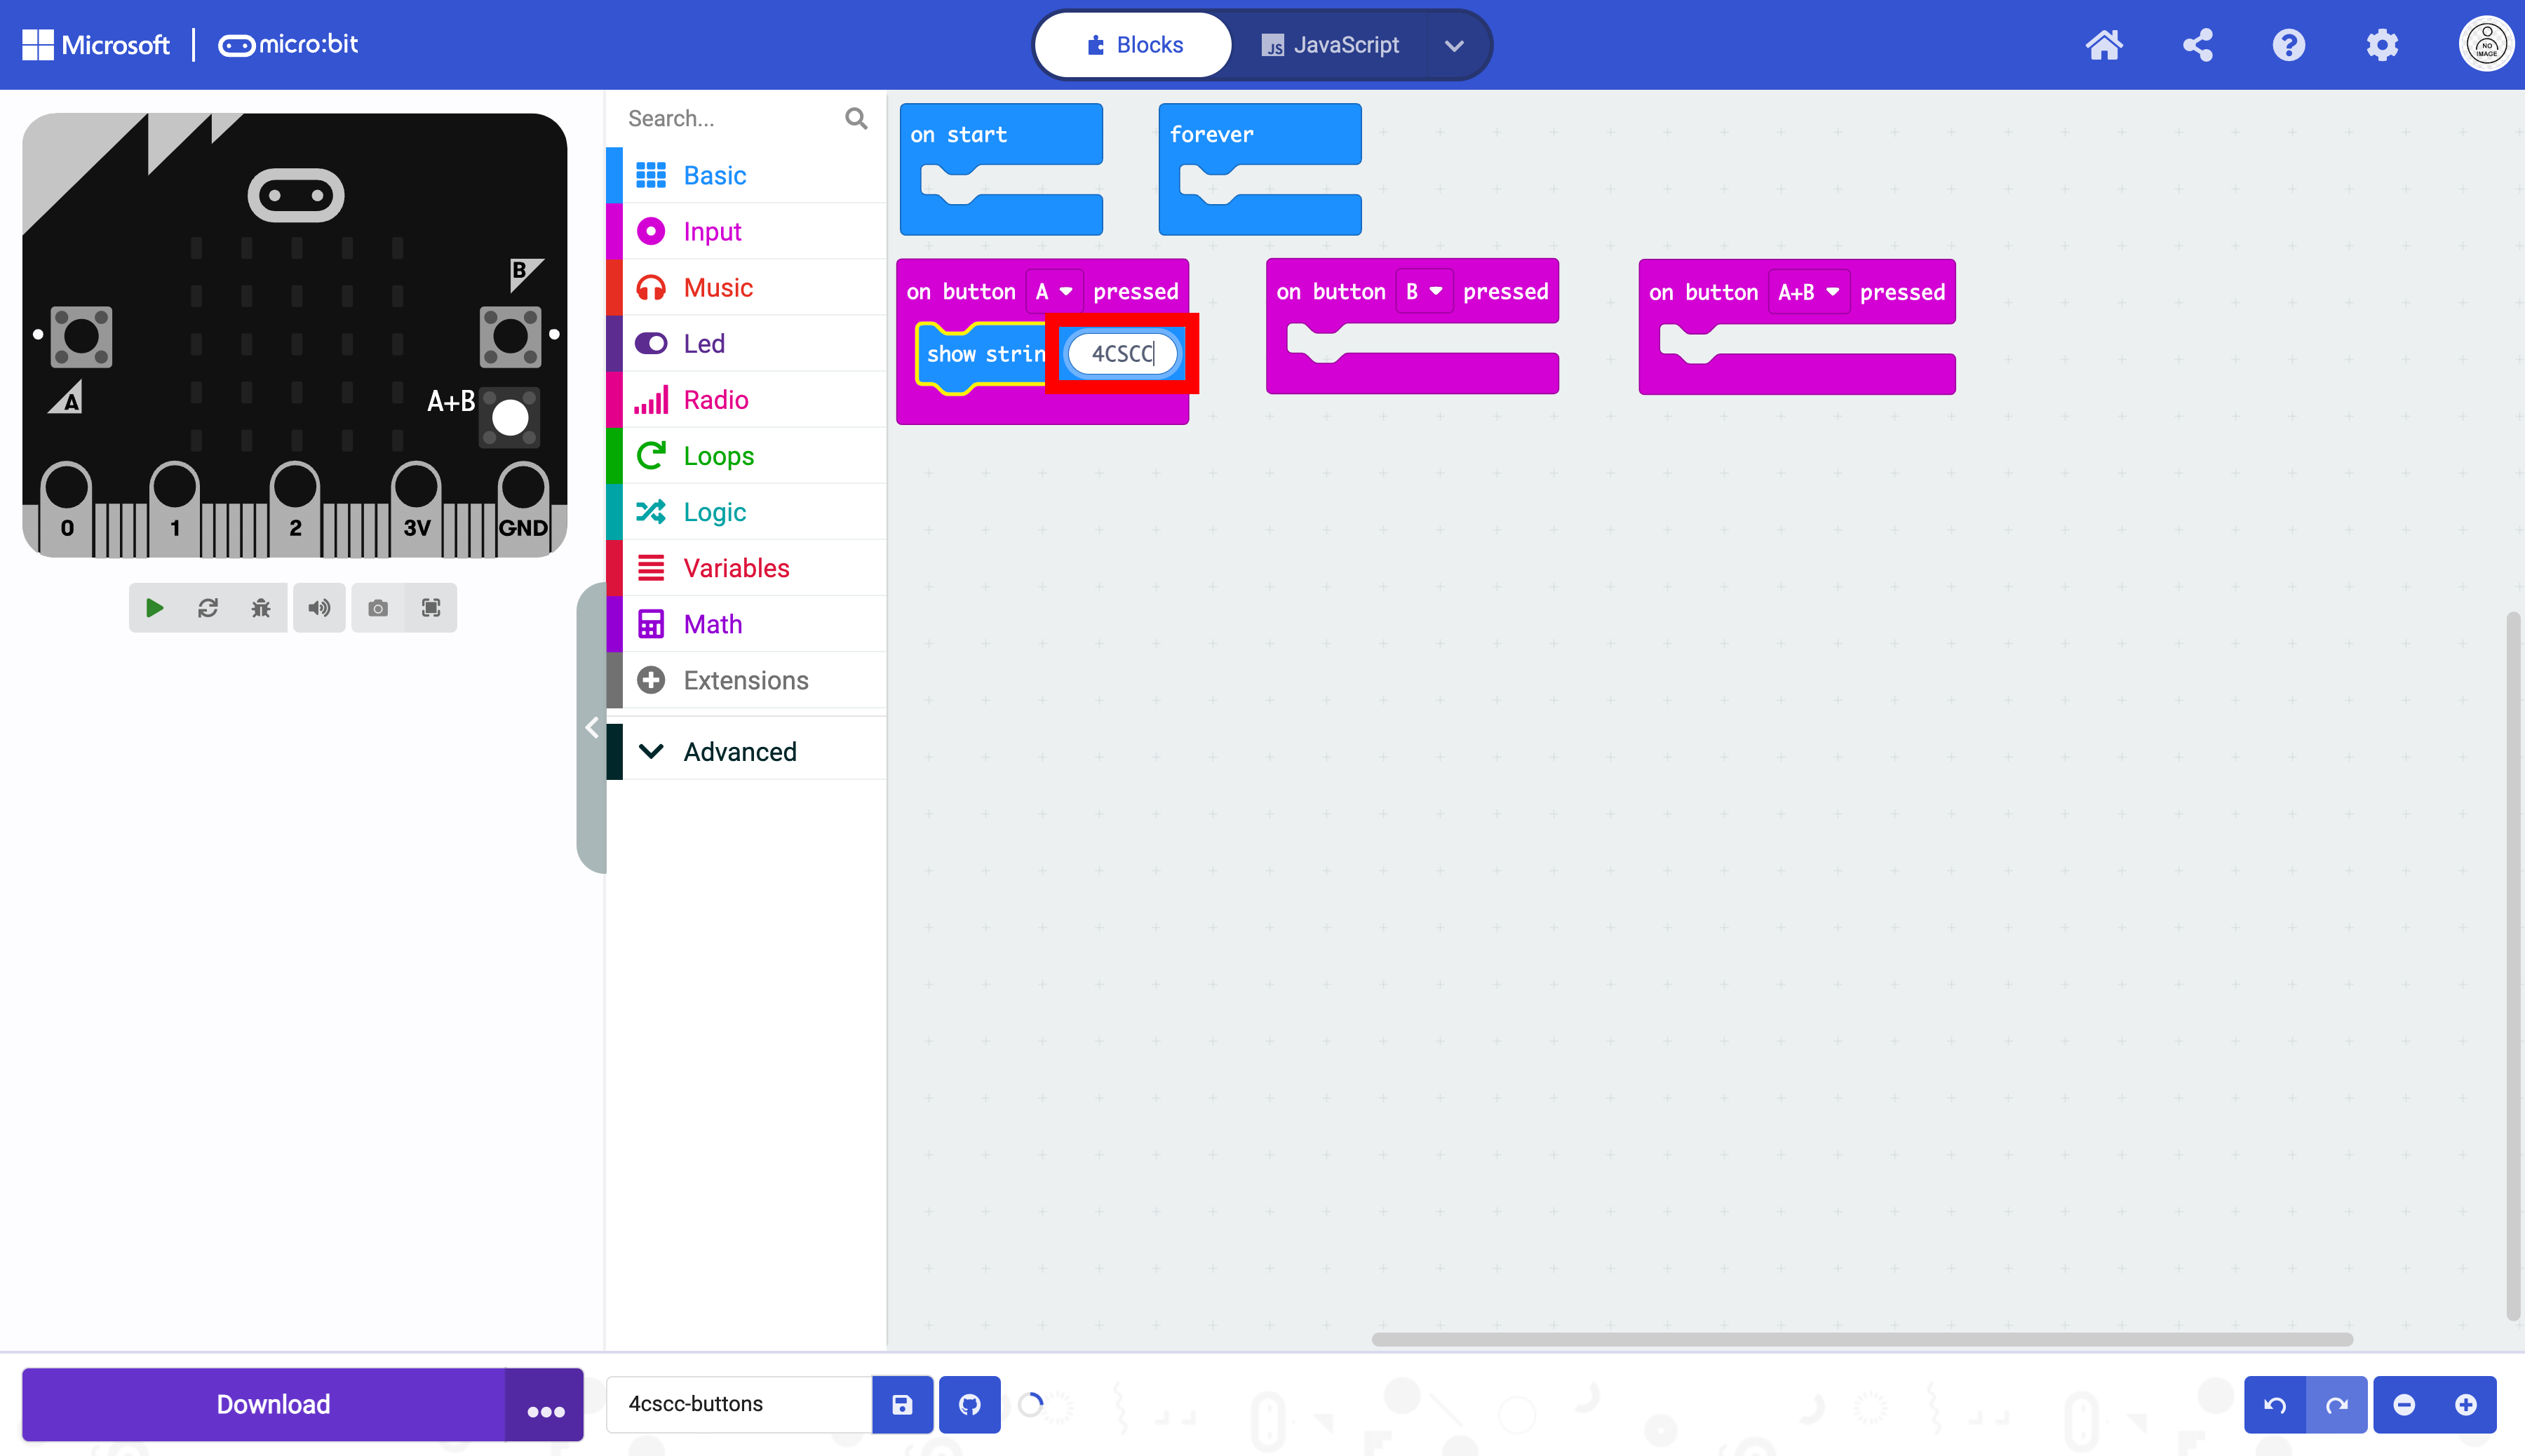
Place the show string block in any of the on button blocks.

Change the string to display a string of your choice. In this example, the string “4CSCC” will be displayed on the micro:bit display when button A is pressed.
We will work on another block now. Click on the “Basic” drawer again.
Select a show icon block.
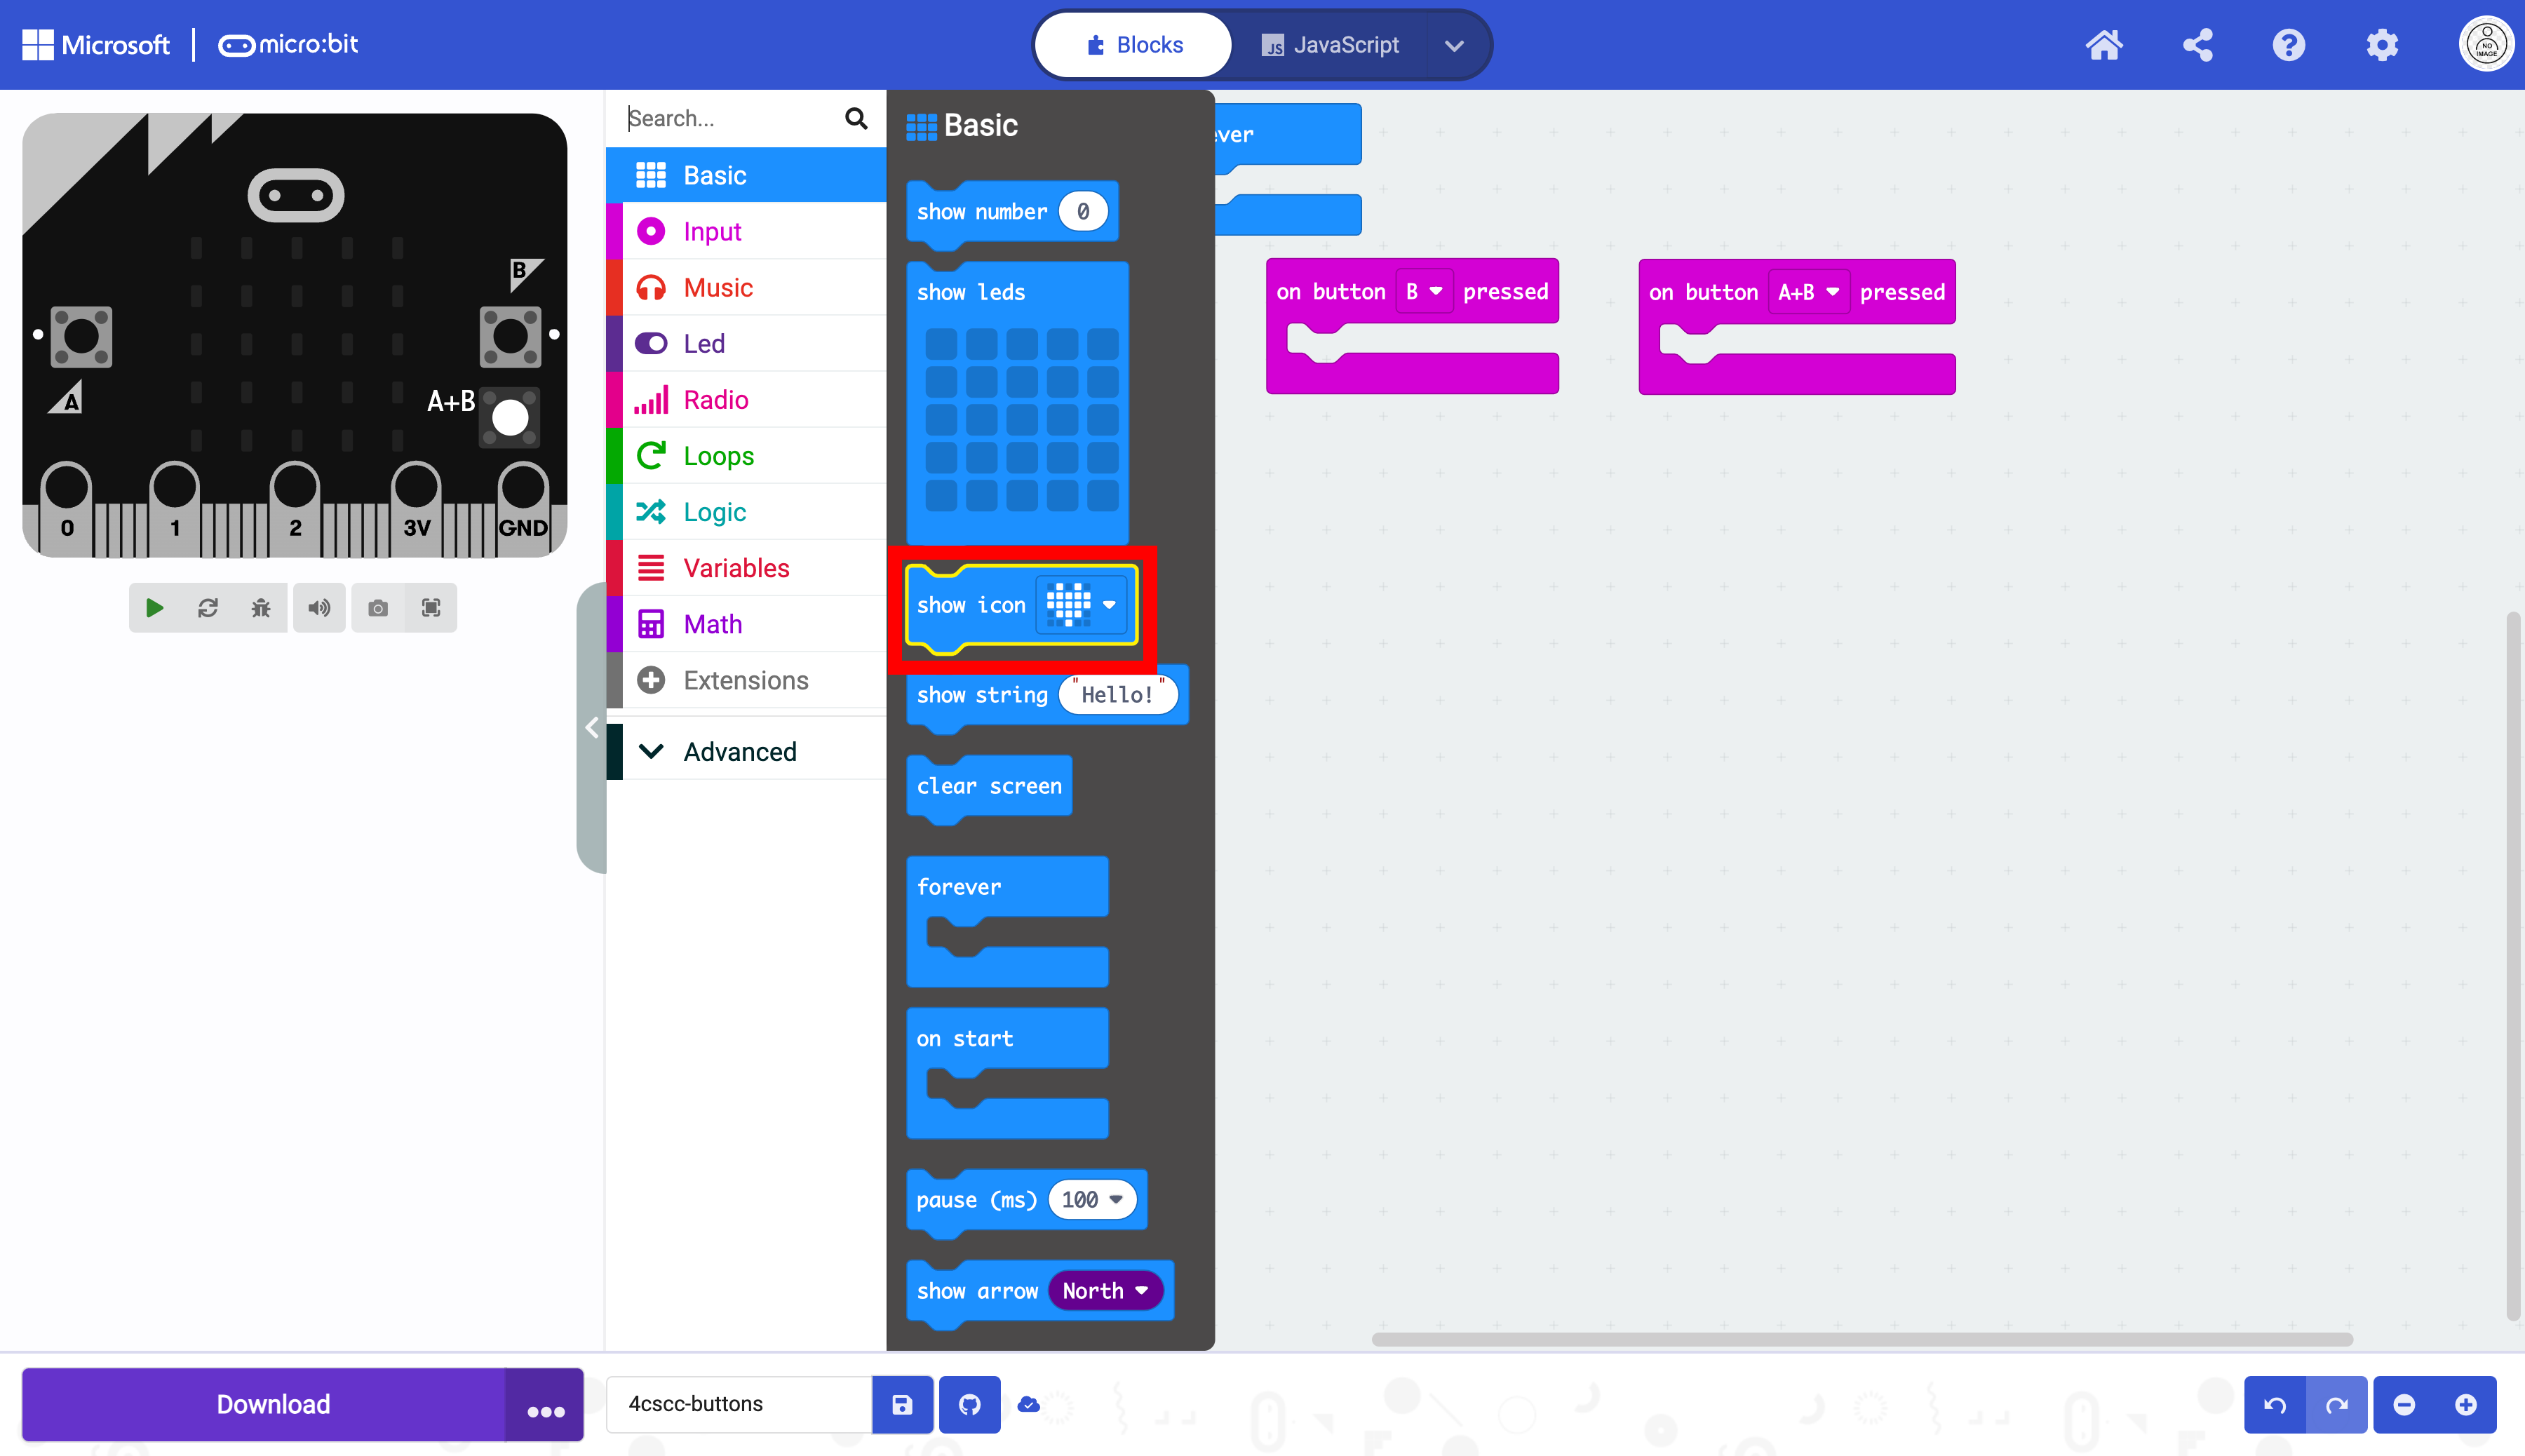
Place the show icon block in any of the empty on button blocks.

Change the image using the dropdown menu.

In this example, the happy face icon will display when button B is pressed.

For your remaining block, you need to take one more action. To do so, click on the “Basic” drawer in the Toolbox again.

This time, we will display a custom image. Choose the show leds block.

Place the show leds block in the remaining block. In this example, the custom image will be displayed when buttons A and B are pressed simultaneously.

Design your custom image.

The micro:bit is now ready to be flashed with code. Press the download button to transfer the code to the micro:bit.