
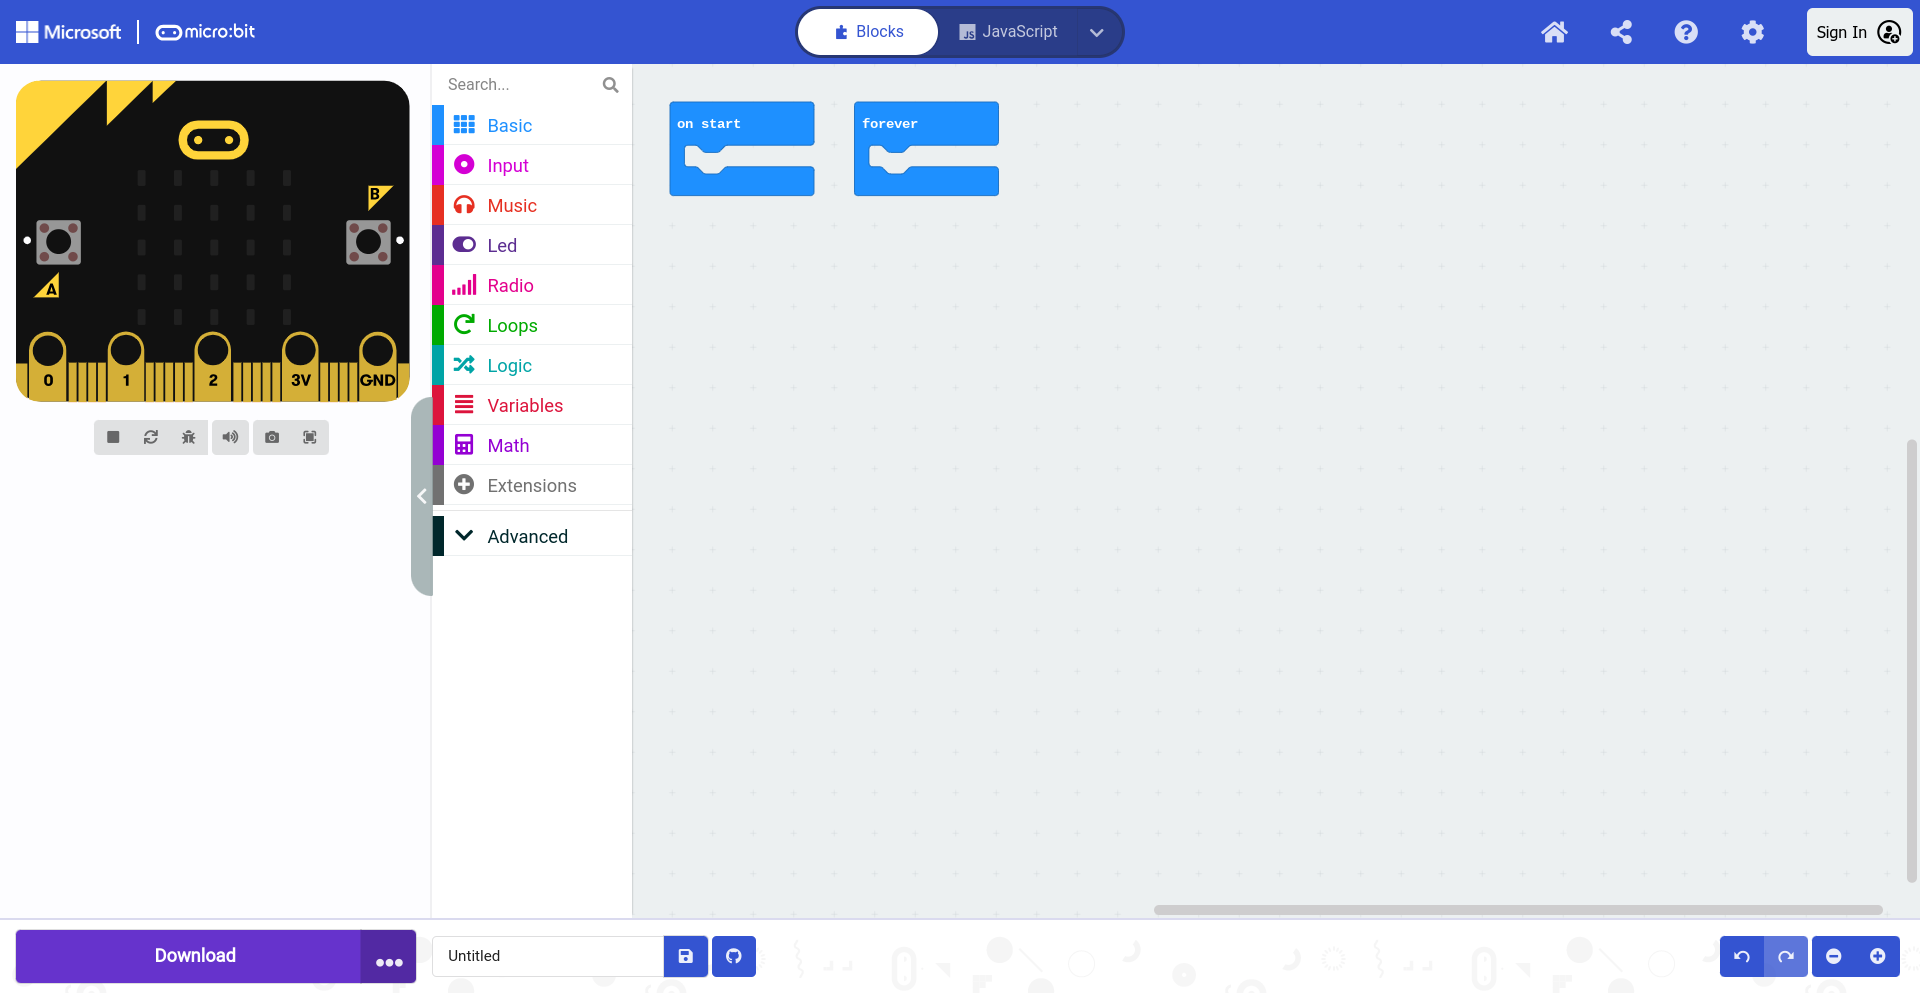
Using a Button and an LED#
Open MakeCode and create a new project.
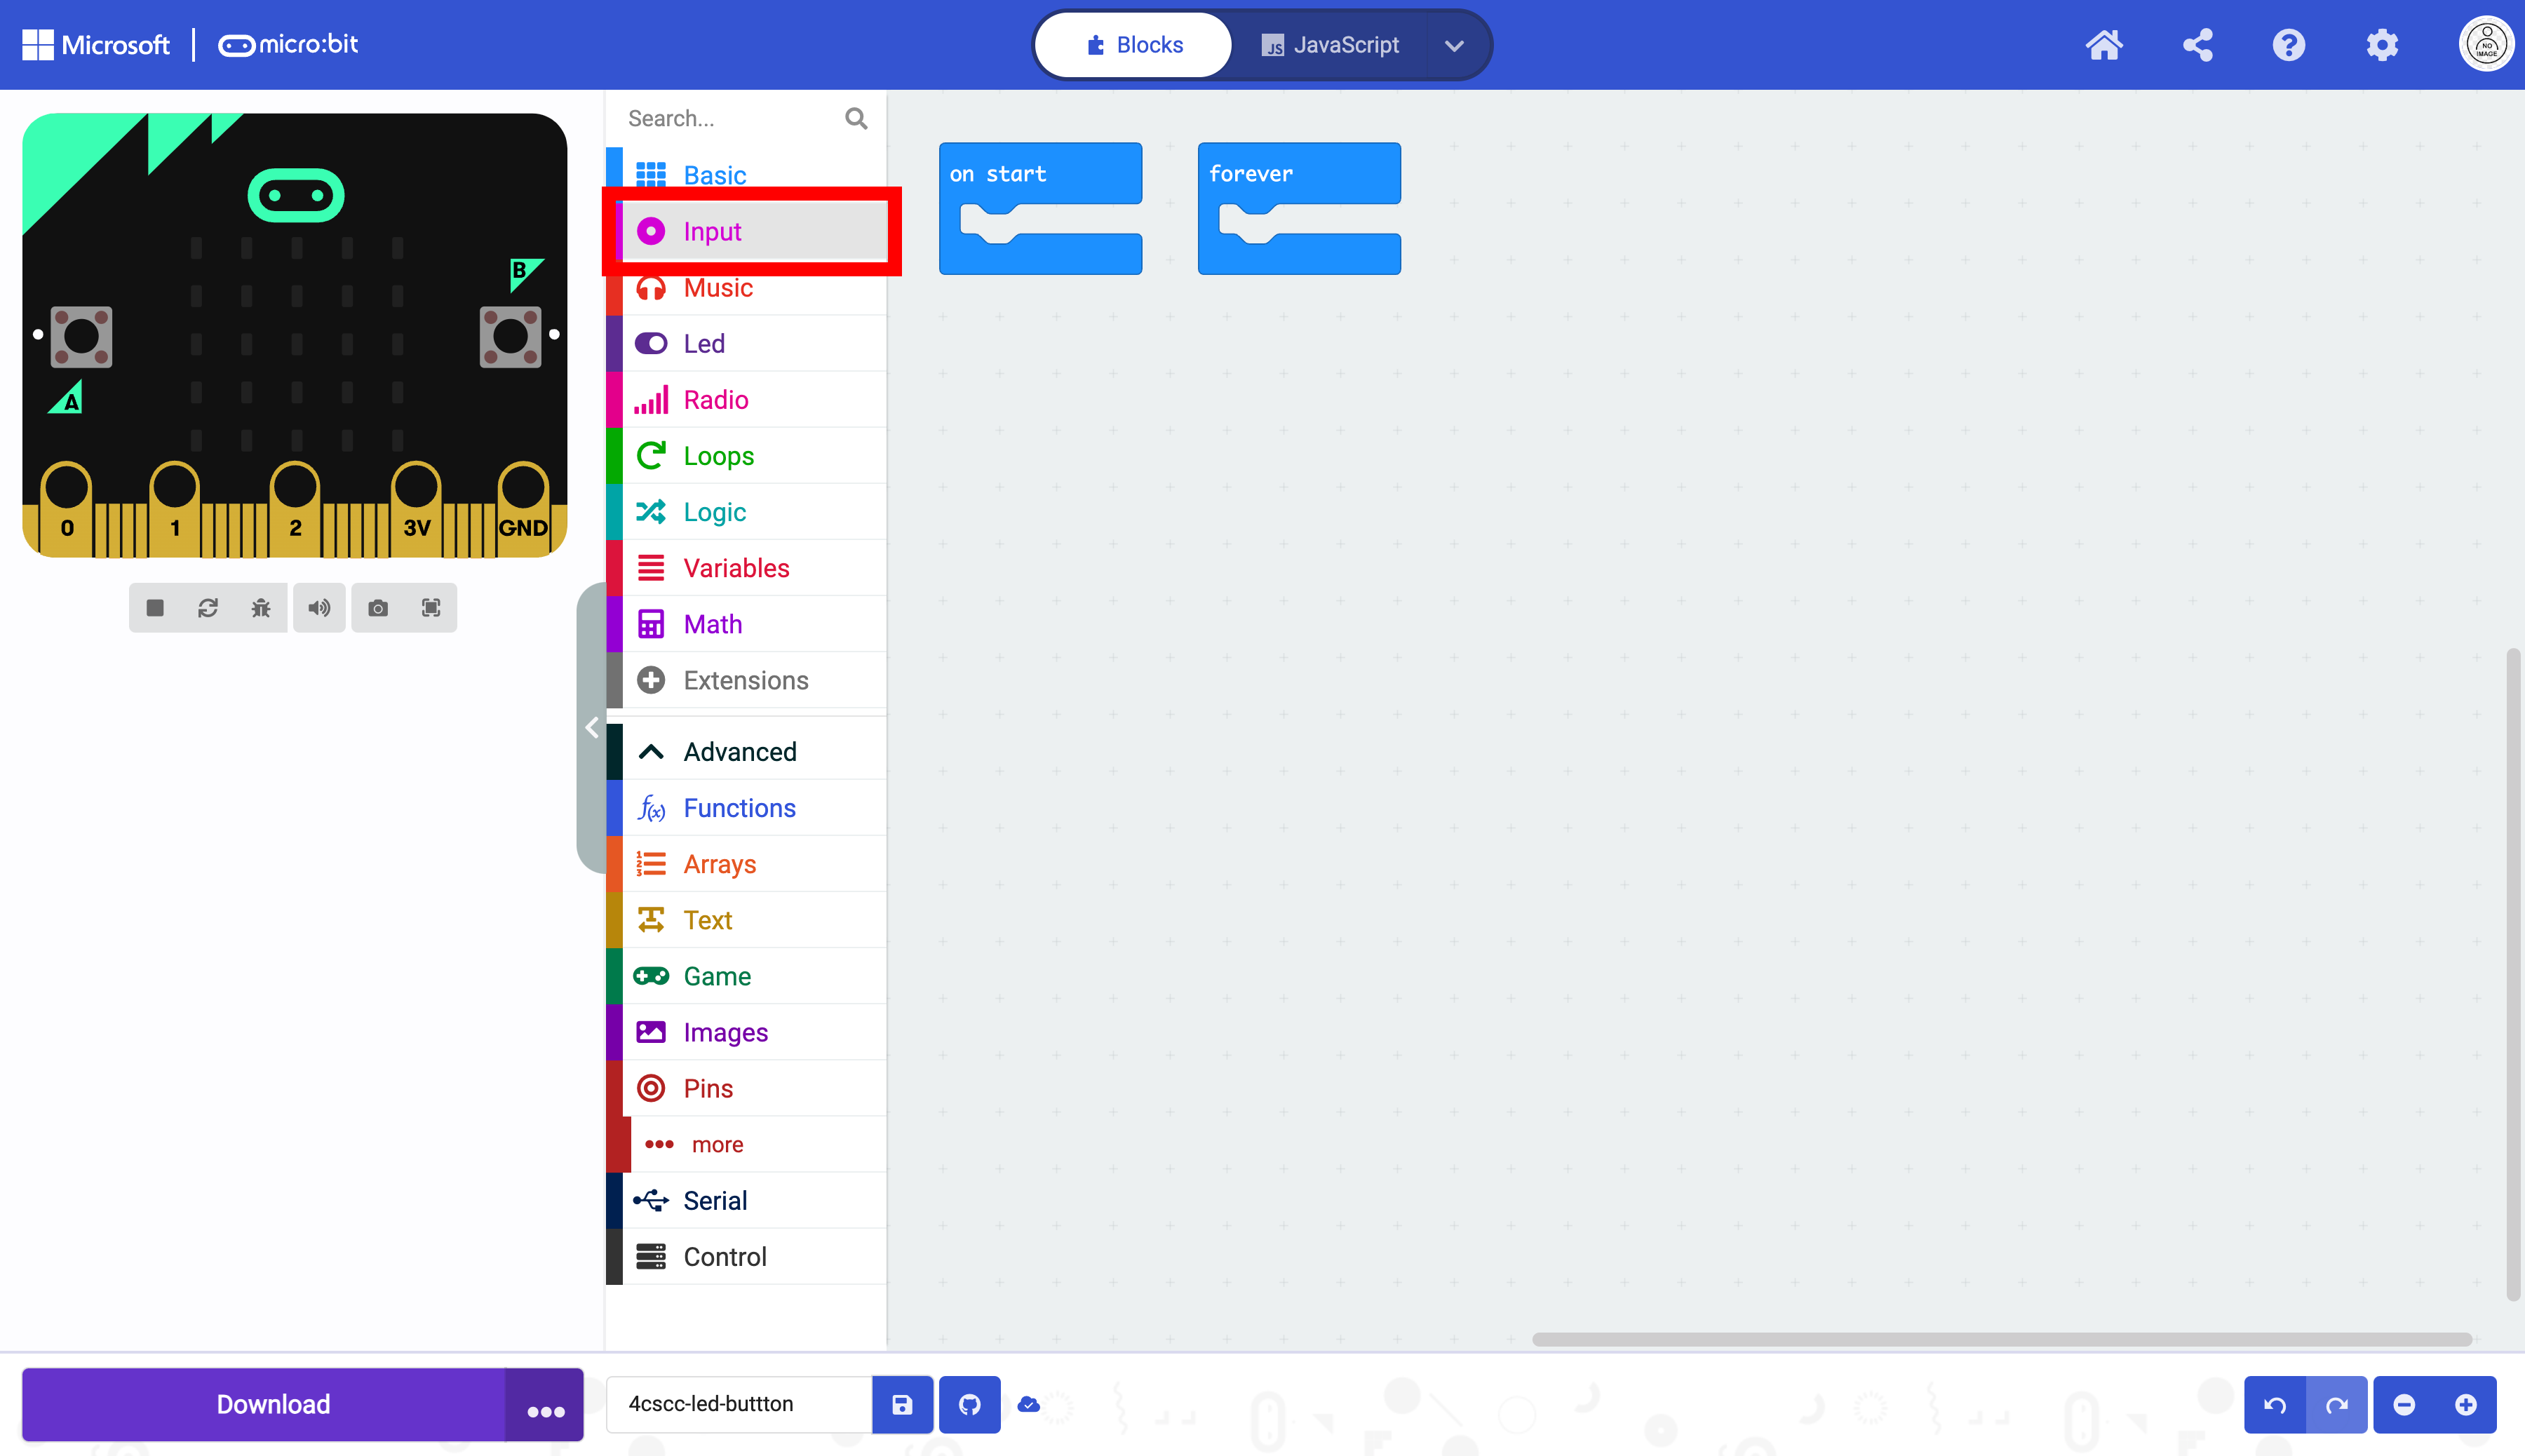
First, we need to add a button. Select the Input drawer on in the Toolbox.
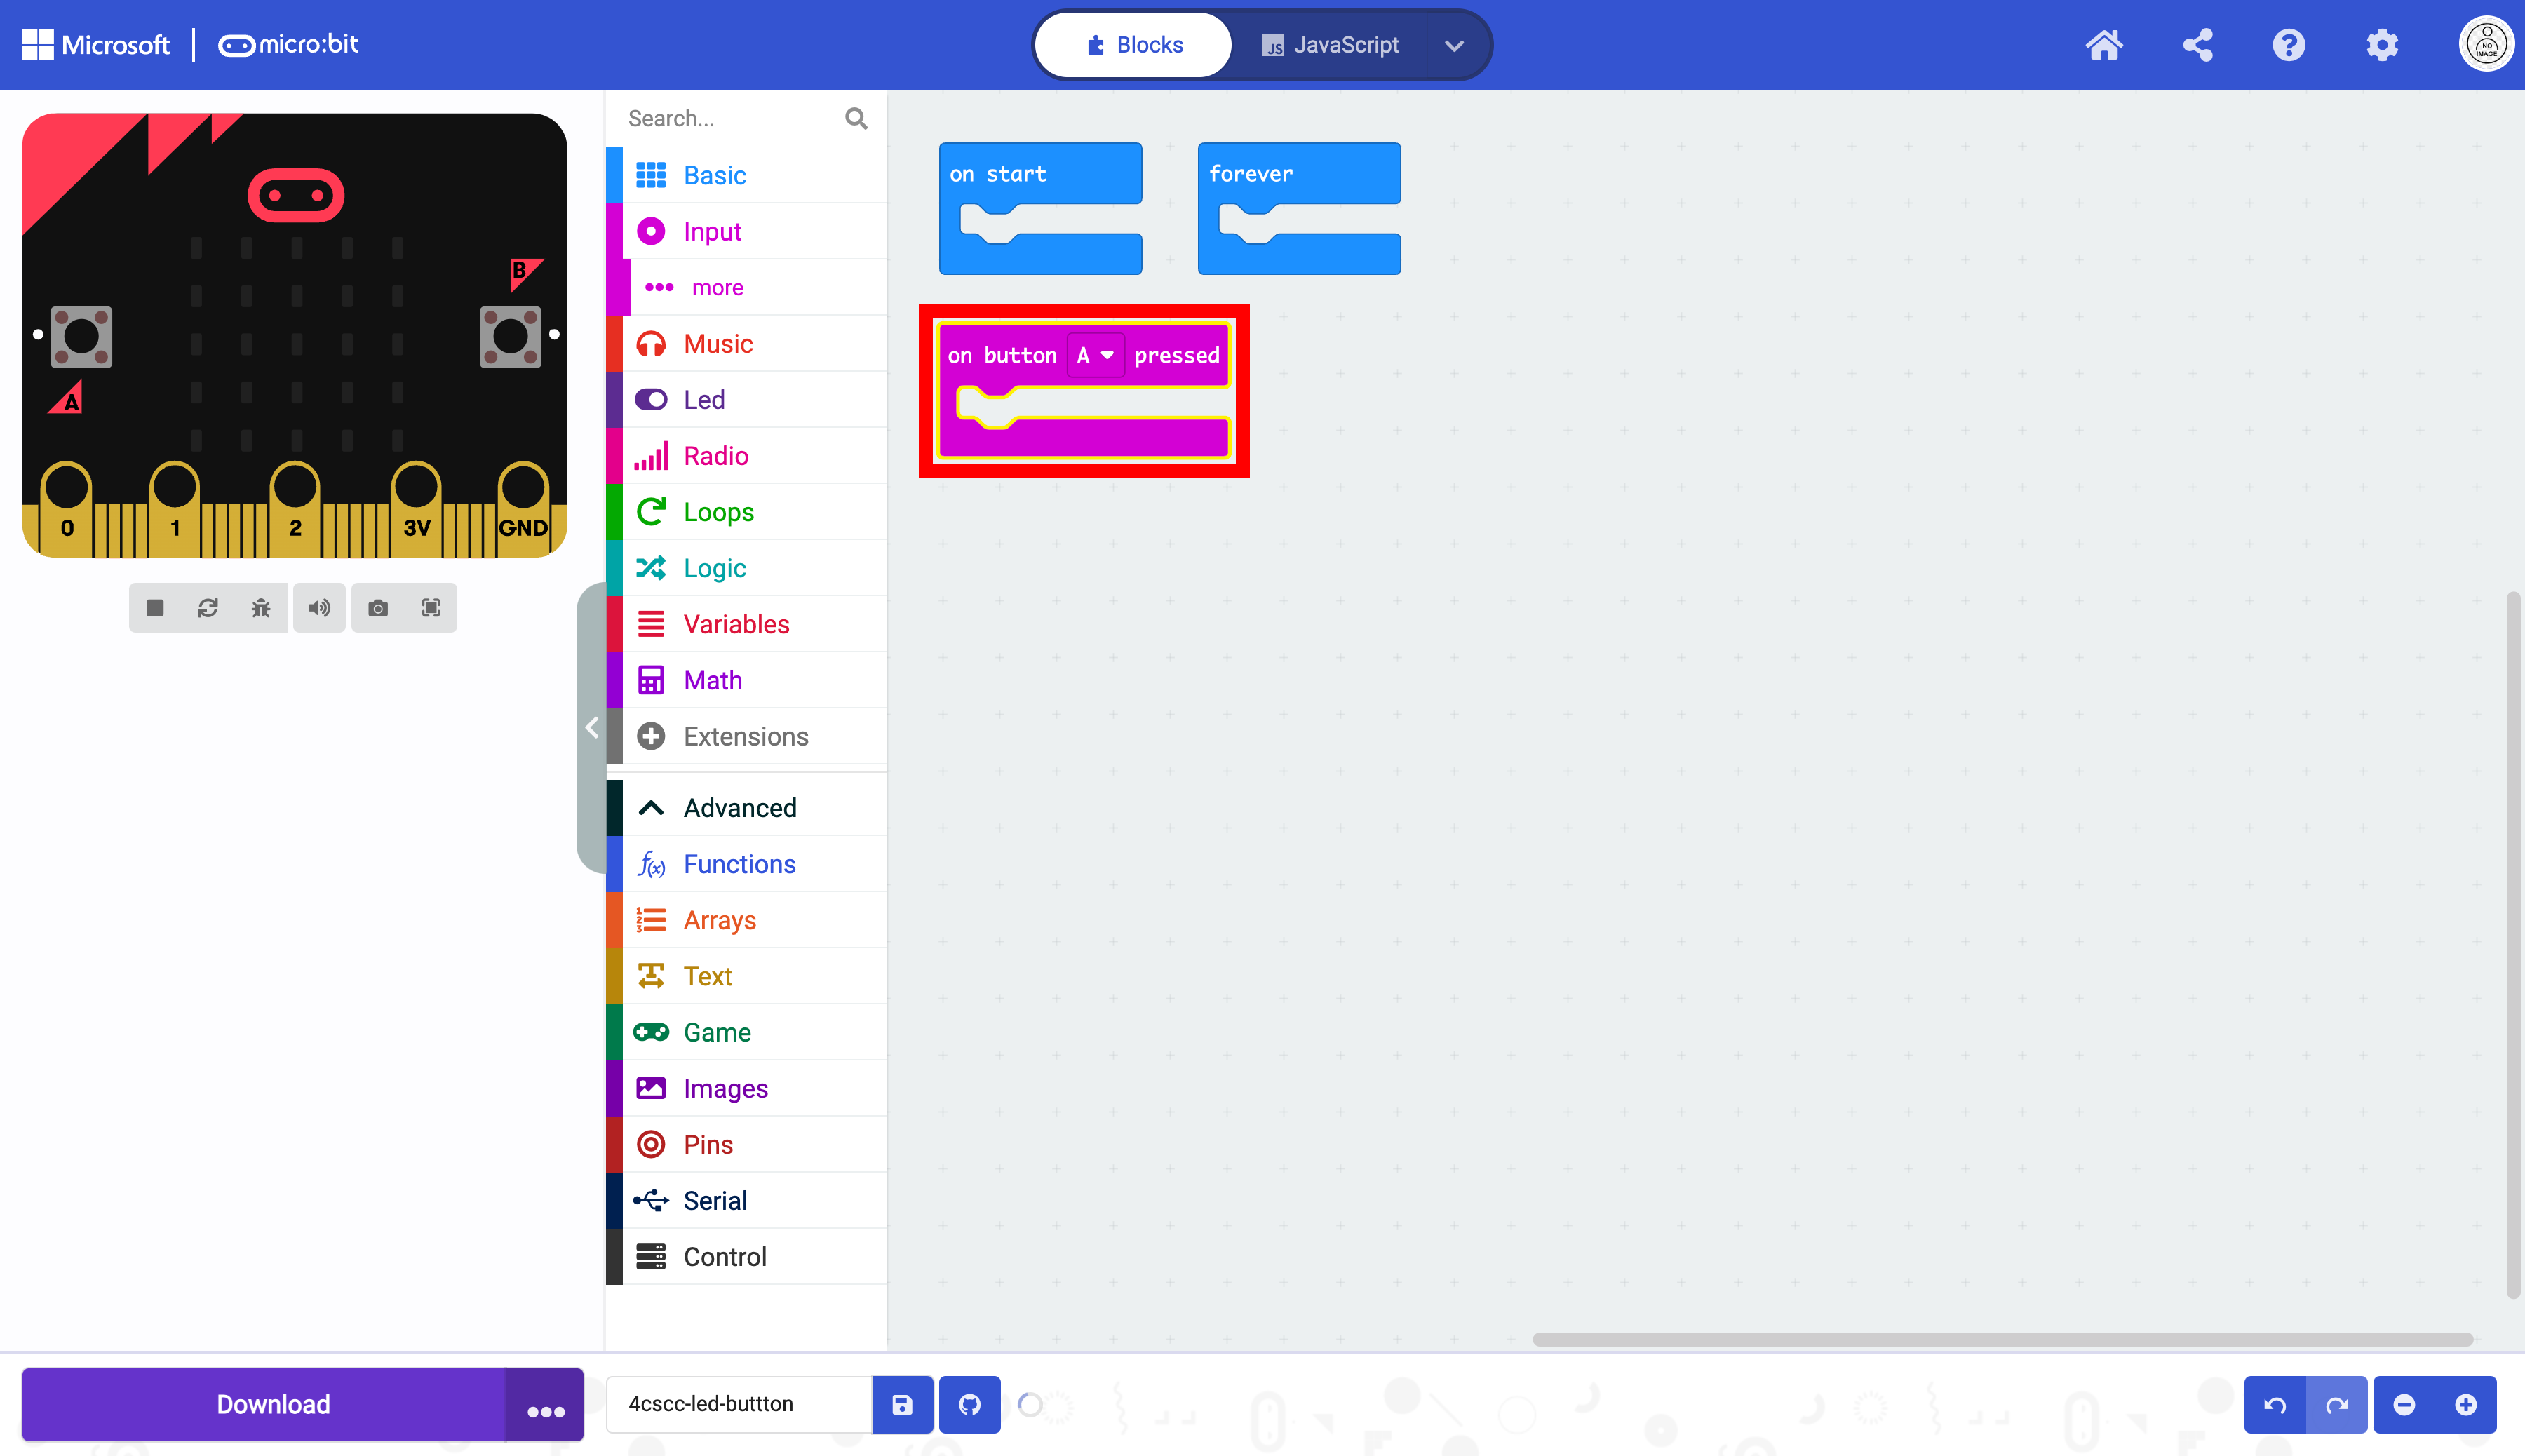
Drag the on button block onto the workspace.

This is a special block that does not need to be placed into the on start or forever blocks. In fact, the shape of the block will not allow you to place it in these blocks.
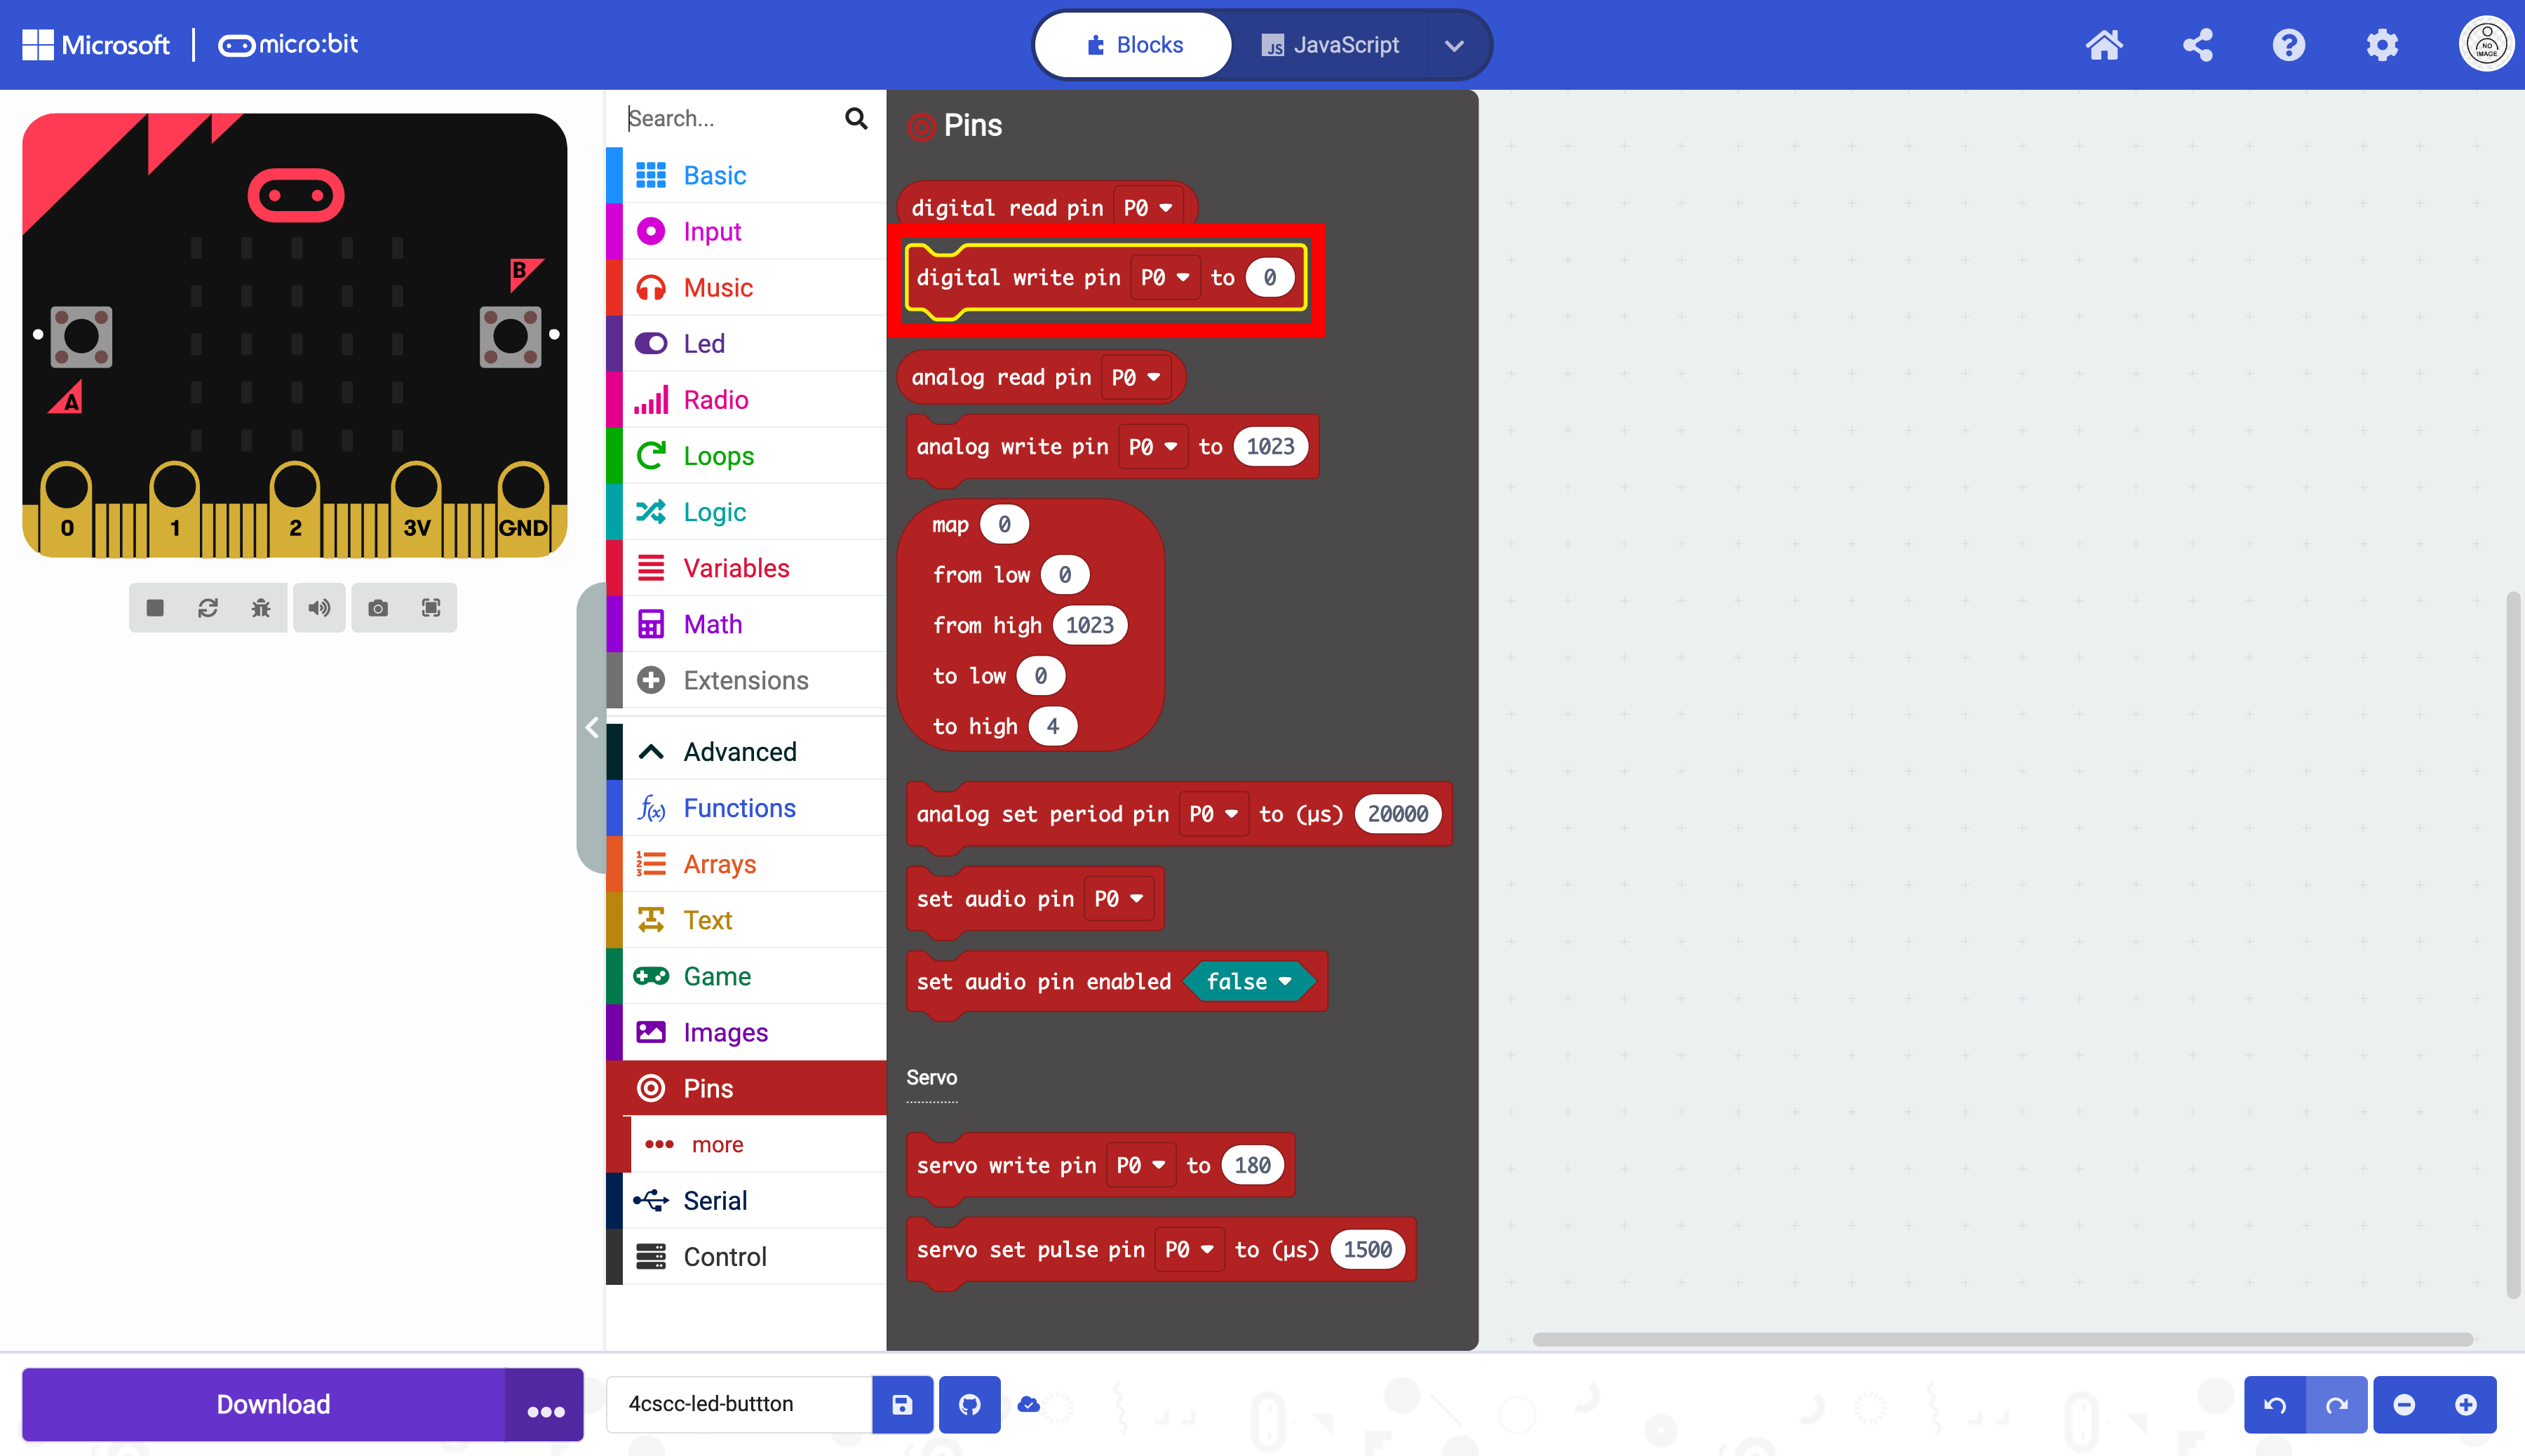
Select Advanced.

Then select Pins.

Select the digital write block.
Place the digital write block in the on button block.

Duplicate the on button block. Make sure that you are duplicating the on button block and not the digital write block.
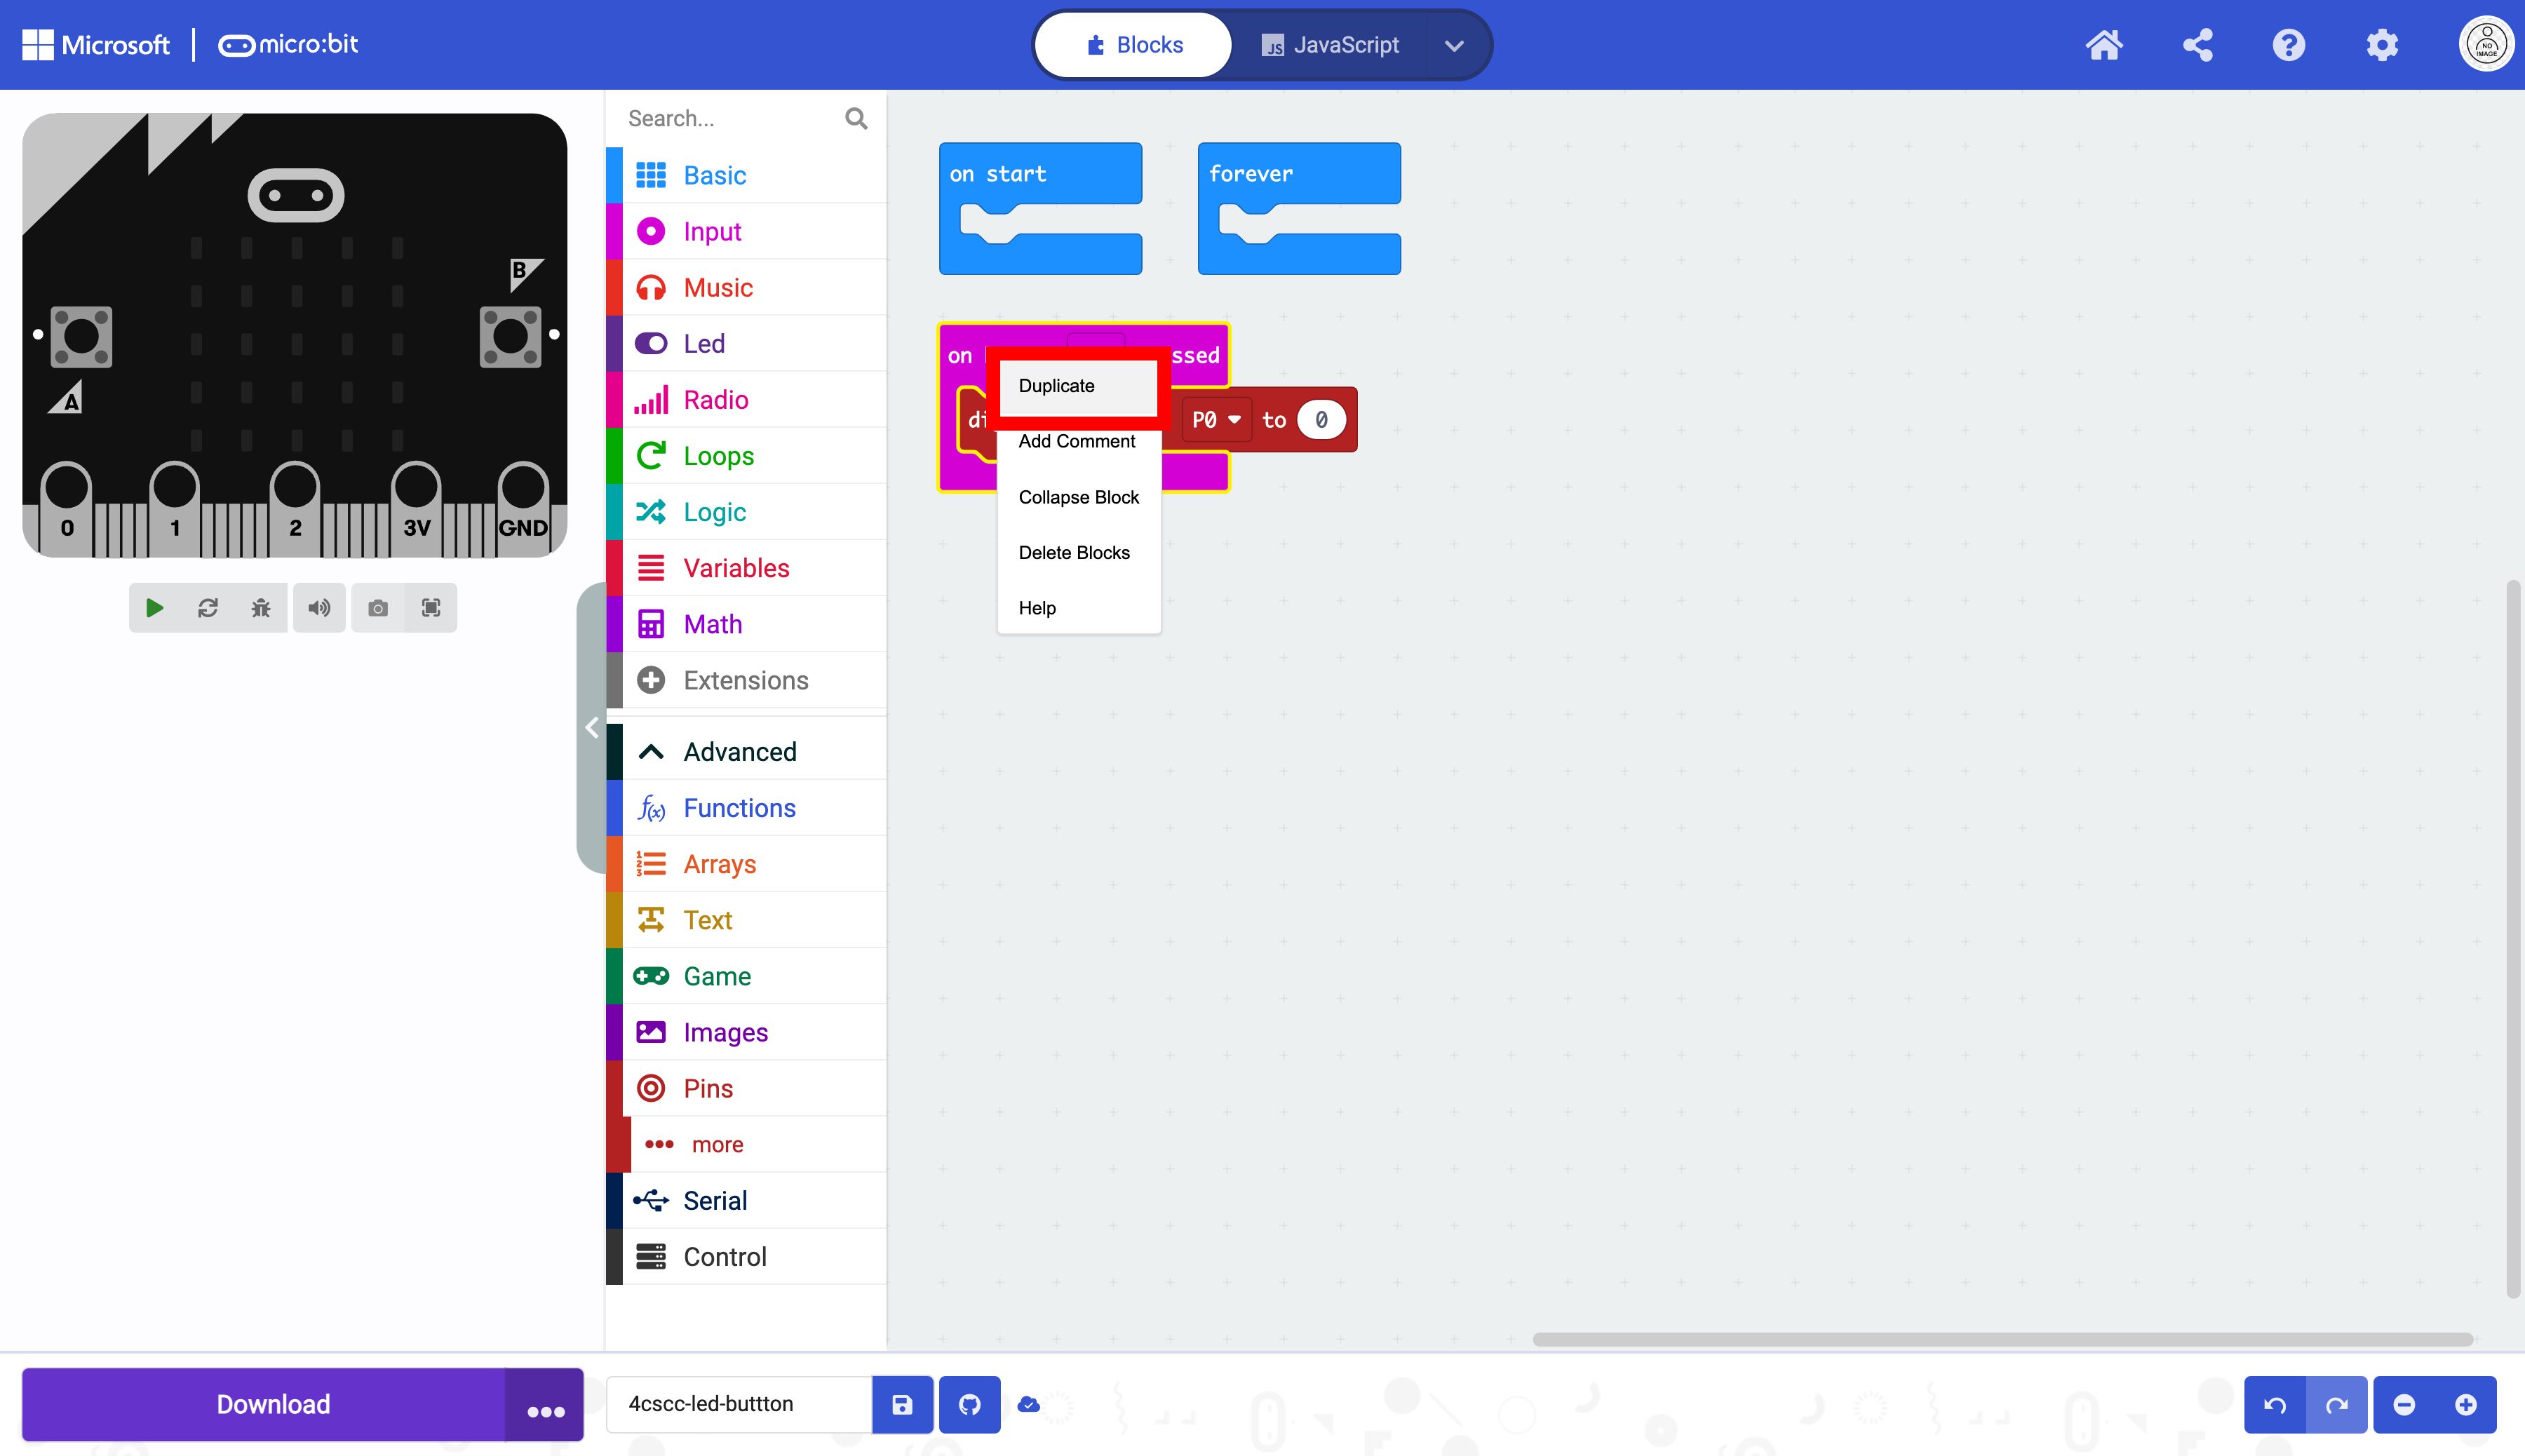
The duplicated block is over the duplicated block.

Move the new block to the side. Notice how the block is a different color than the other block. This is because the code is the same, and MakeCode will ignore duplicated blocks.

Toggle the A on the on button block and select B. This will change the code to react to button B instead of button A.

The block is now the same colors as the other on button block,

This code will not turn the LED on and off, because both of the values in the blocks are 0. This code will only keep an LED off or at 0. The value in the on button b block must be changed.

Change the digital signal from 0 to 1.
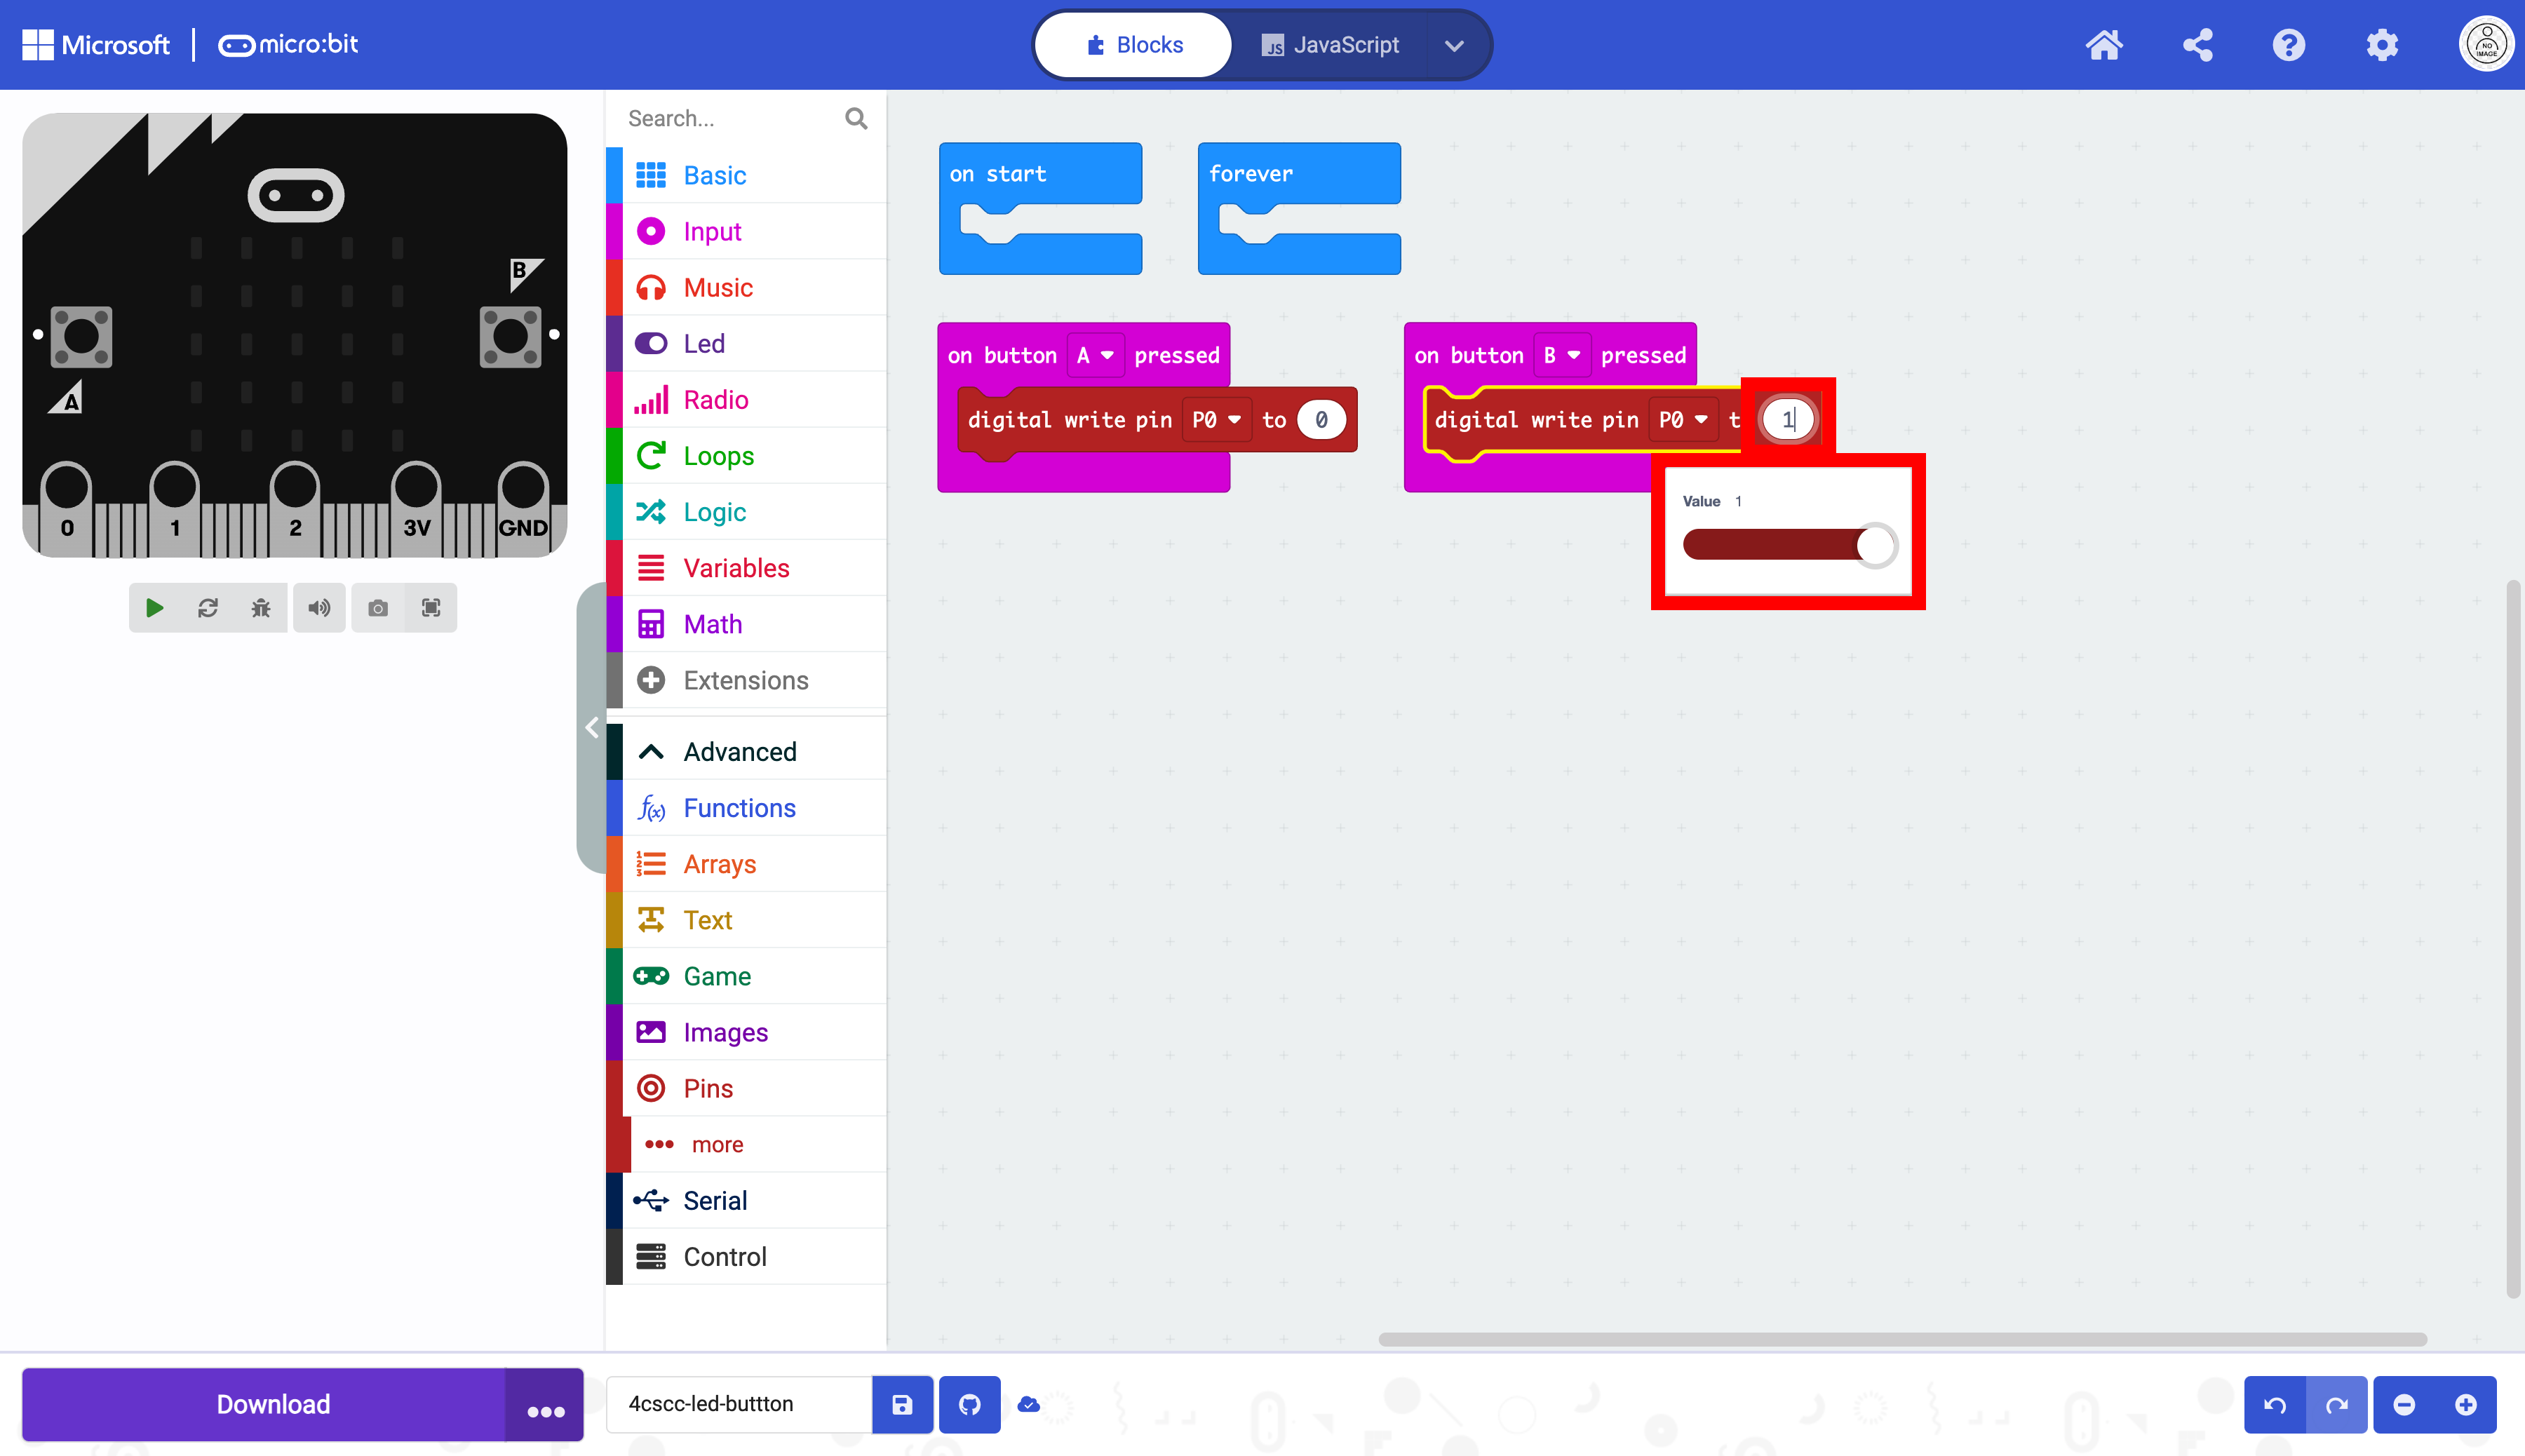
The program is now complete, and button A should turn the LED off and button B will turn the LED on.
Try switching the values so button A turns the LED on and button B turns the LED off.
The micro:bit is now ready to be flashed with code. Press the download button to transfer the code to the micro:bit.